Create Event
Install the Servv AI Plugin
- Navigate to Plugins > Add New in the WordPress sidebar.
- Search for "Servv AI" in the plugin search bar.
- Click Install Now on the Servv AI plugin.
- Once installed, click Activate to enable the plugin.
Access the Servv AI Plugin
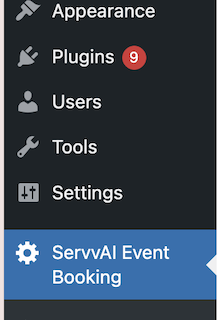
- Click Servv AI Event Booking to open the Servv AI interface within your WordPress dashboard.
Navigate to the Events Section
- In the Servv AI interface, Open the Events section in the sidebar.
- Click New Event to open the event creation form.

Fill Out the Event Form
In the event creation form, provide the following details:
- Event Title: Enter a descriptive title for your event (e.g., "Yoga Workshop 2025").
-
Date and Start & End Time:
- Select the event date using the provided date picker.
- Specify the start and end times for the event using the time picker fields.
- Choose the appropriate timezone for the event to ensure accurate scheduling for attendees.
-
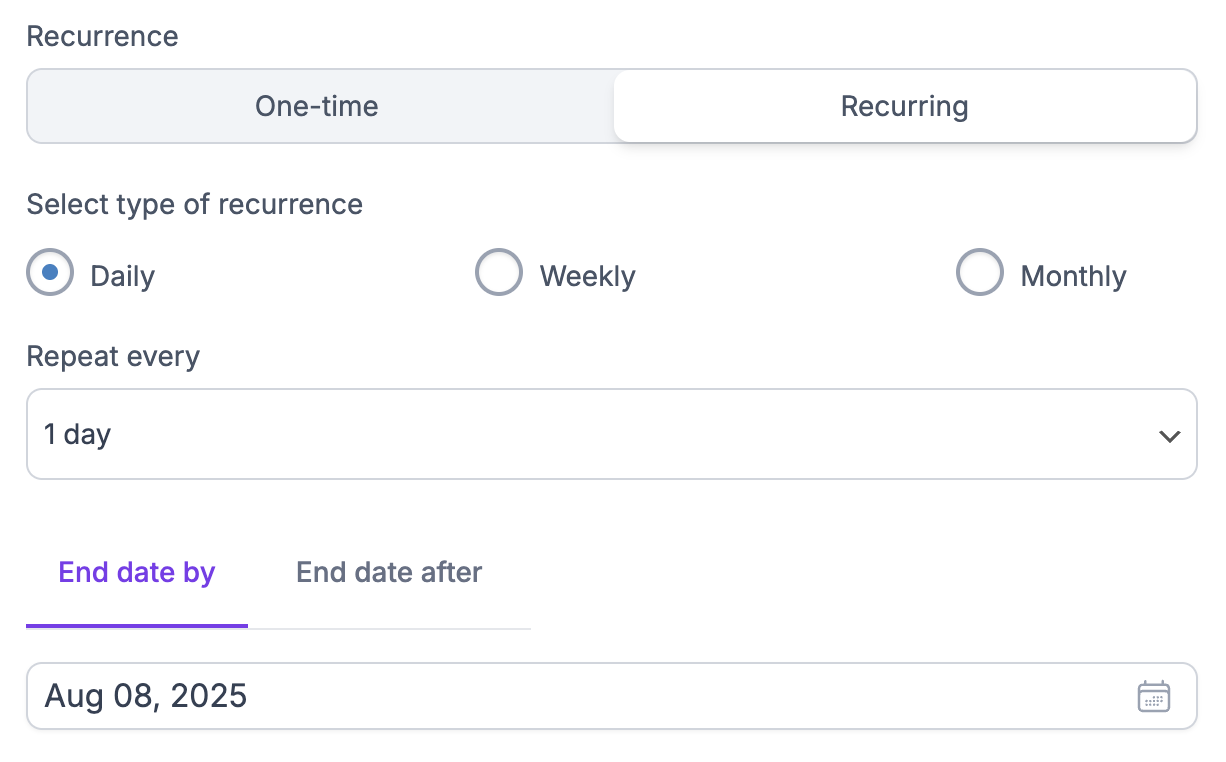
Recurrence Type:
- Select whether the event is One-time or Recurring.
- For recurring events, specify the recurrence pattern (e.g., daily, weekly, monthly).
Learn more about Recurring Types →
-
Add Location: Choose the event type:
- In-Person: Enter the physical address of the venue. Optionally, integrate with Google Maps for location display if supported.
- Virtual: Provide a meeting link for Zoom or Google Meet. Servv AI offers seamless Zoom integration for automated link generation.
-
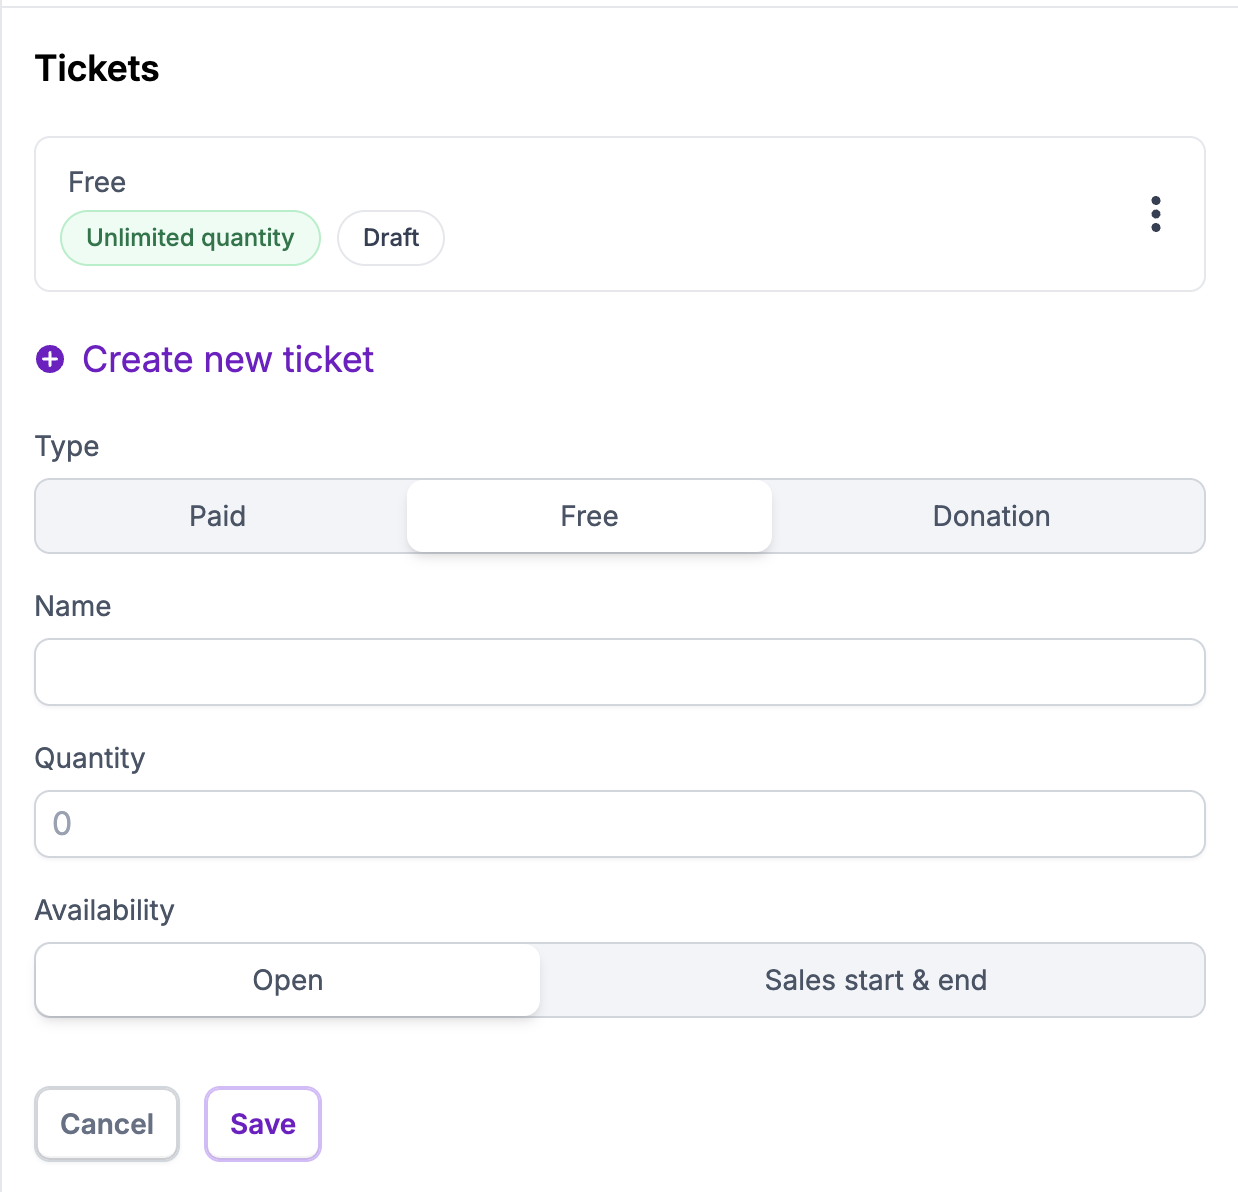
Create new ticket: Add one or more ticket types (e.g., Free, Paid, Donation). For each ticket type, configure:
- Ticket Name: E.g., "General Admission," "VIP," or "Donation."
- Quantity: Specify the number of available tickets.
- Availability:
- Sale: Tickets are available for purchase immediately.
- Sale Start/End: Set specific start and end dates for ticket sales if needed.
-
Click Create new ticket to include additional ticket types if required.
-
Click Save to store the event ticket details.
Apply Filters
After saving, use the Filter options to refine event settings:
- Location: Filter events by specific locations (useful for multi-venue setups).
- Language: Select the event language if applicable.
- Member: Assign the event to specific members or organizers.
Apply the desired filters to customize the event’s visibility or assignment.
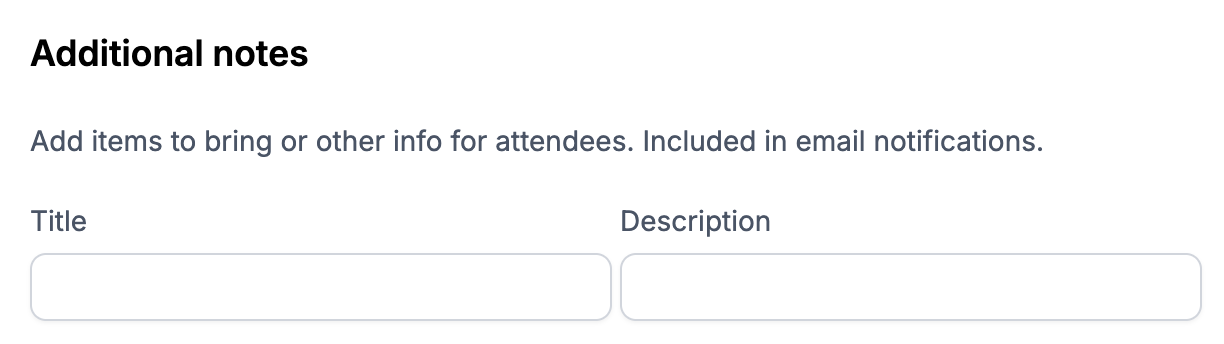
Additional notes
Add item to bring or other info for attendees. included in email notifications.
Example:
- Title - Parking
- Discription - Paid parking is available near the venue. We recommend using public transport or carpooling.
Publish the Event
Review all event details to ensure accuracy. Click Publish to make the event live on your WordPress site.
The event will now be visible to visitors, and attendees can register or purchase tickets based on your configuration. Servv AI supports automated email notifications and calendar integrations (e.g., Google Calendar) for attendees.

Related Links
Event Setting - https://support.servv.ai/getting-started/event/setting/
Add member to event -https://support.servv.ai/getting-started/event/registrants/
Create a Location Filter - https://support.servv.ai/getting-started/filter/locationfilter/
Create a Language Filter - https://support.servv.ai/getting-started/filter/languagefilter/
Create a Member Filter - https://support.servv.ai/getting-started/filter/memberfilter/
Find your All Bookings - https://support.servv.ai/getting-started/booking/
Notes
Zoom Integration: For virtual events, Servv AI automatically generates and sends Zoom links to registered attendees, streamlining the process.
Performance: Servv AI is designed to be lightweight, ensuring it does not slow down your WordPress site.
Need Help?
If you're stuck or need further assistance:
- Check our FAQs
- Reach out via Support Request Form
- Chat with us directly from your Servv dashboard
We're here to help — every step of the way.