Calendar Integration Guide
This document provides detailed instructions for integrating Google Calendar with your Servv AI account to enable efficient management of events and schedules. The steps outlined below are designed for clarity and ease of use, ensuring a seamless connection process. This guide assumes familiarity with web-based platforms and basic navigation within a user interface.
Note: Ensure you have the necessary permissions to access the Integration section in Servv AI and a valid Google account for calendar integration. Screenshots referenced in this guide are illustrative and may vary slightly based on platform updates.
Prerequisites
- Active Servv AI account with administrative or integration permissions.
- A Google account with access to Google Calendar.
- Stable internet connection and a supported browser (e.g., Chrome, Firefox, or Edge).
Navigate to the Integration Section
Log in to your Servv AI account.
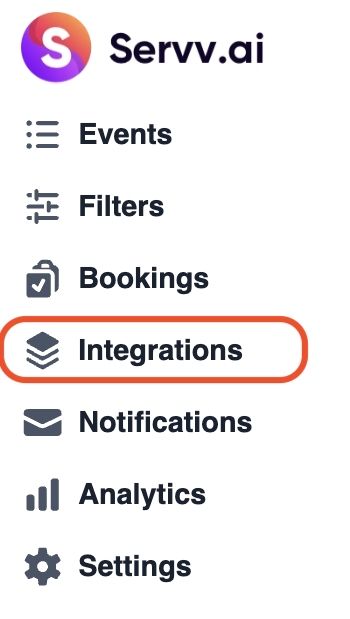
Locate the side menu bar on the left-hand side of the interface.
Click on the Integration option to access the integration dashboard.
Reference: The Integration section is typically represented by a dedicated icon or label in the side menu.
Select Calendar Integration
In the integration dashboard, locate the Calendar option. This may be listed among other available integrations.
Click on the Calendar tile or button to proceed to the calendar integration setup.

Initiate the Connection
On the Calendar integration page, locate the Connect button.
Click Connect to start the integration process with Google Calendar.

Provide Your Email Address
A prompt will appear requesting your Google account email address.
Enter the email address associated with the Google Calendar you wish to integrate.
Click Continue to proceed.

Important: Ensure the email entered is correct and has access to the Google Calendar service. Incorrect credentials may result in connection errors.
Review and Authorize Permissions
A permissions screen will display, outlining the access Servv AI requires to sync with your Google Calendar (e.g., viewing and managing events).
Review the permissions carefully to ensure you understand the scope of access.
Select the appropriate options (if applicable) and click Continue to authorize the integration.

Verify Connection Status
Upon successful authorization, you will be redirected to the integration dashboard.
Confirm that the Calendar integration status displays as Connected.

Tip: If the status does not show as Connected, verify your credentials, internet connection, and permissions, then repeat the steps. Contact Servv AI support if issues persist.
Post-Integration Notes
- Sync Verification: After integration, verify that events and schedules are syncing correctly between Servv AI and your Google Calendar. Allow a few minutes for initial synchronization.
- Troubleshooting: If synchronization issues occur, check for error notifications in the integration dashboard or consult the Servv AI help center.
- Revoking Access: To disconnect the integration, navigate back to the Calendar integration section, select the connected account, and choose the option to disconnect or revoke access.
Need Help?
If you're stuck or need further assistance:
- Check our FAQs
- Reach out via Support Request Form
- Chat with us directly from your Servv dashboard
We're here to help — every step of the way.x