Stripe Integration Guide
⚡ Premium Feature
The Stripe integration feature is available only on Premium plans.
This document provides detailed instructions for integrating Stripe with your Servv AI account to enable secure and seamless payment processing for your events. This guide is designed for clarity and ease of use, ensuring a smooth setup process. It assumes familiarity with web-based platforms and basic navigation within a user interface.
Note: Ensure you have administrative access to your Stripe account and access to the Integration section in Servv AI. Screenshots referenced in this guide are illustrative and may vary slightly based on platform updates.
Prerequisites
- Active Servv AI account with administrative or integration permissions.
- Stripe account with verified business or individual setup.
- Stable internet connection and a supported browser (e.g., Chrome, Firefox, or Edge).
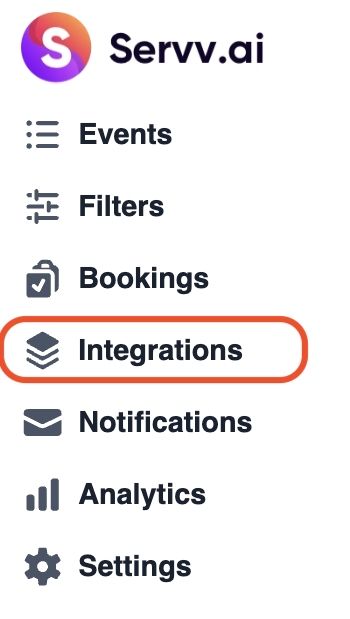
Navigate to the Integration Section
Log in to your Servv AI account.
Locate the side menu bar on the left-hand side of the interface.
Click on the Integration option to access the integration dashboard.
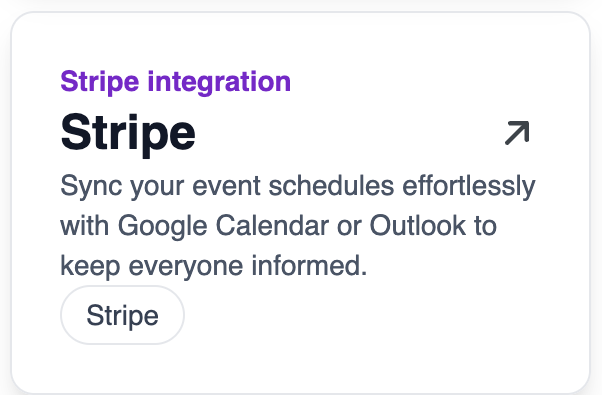
Select Stripe Integration
In the integration dashboard, locate the Stripe option.
Click on the Stripe tile or button to proceed with the Stripe integration setup.
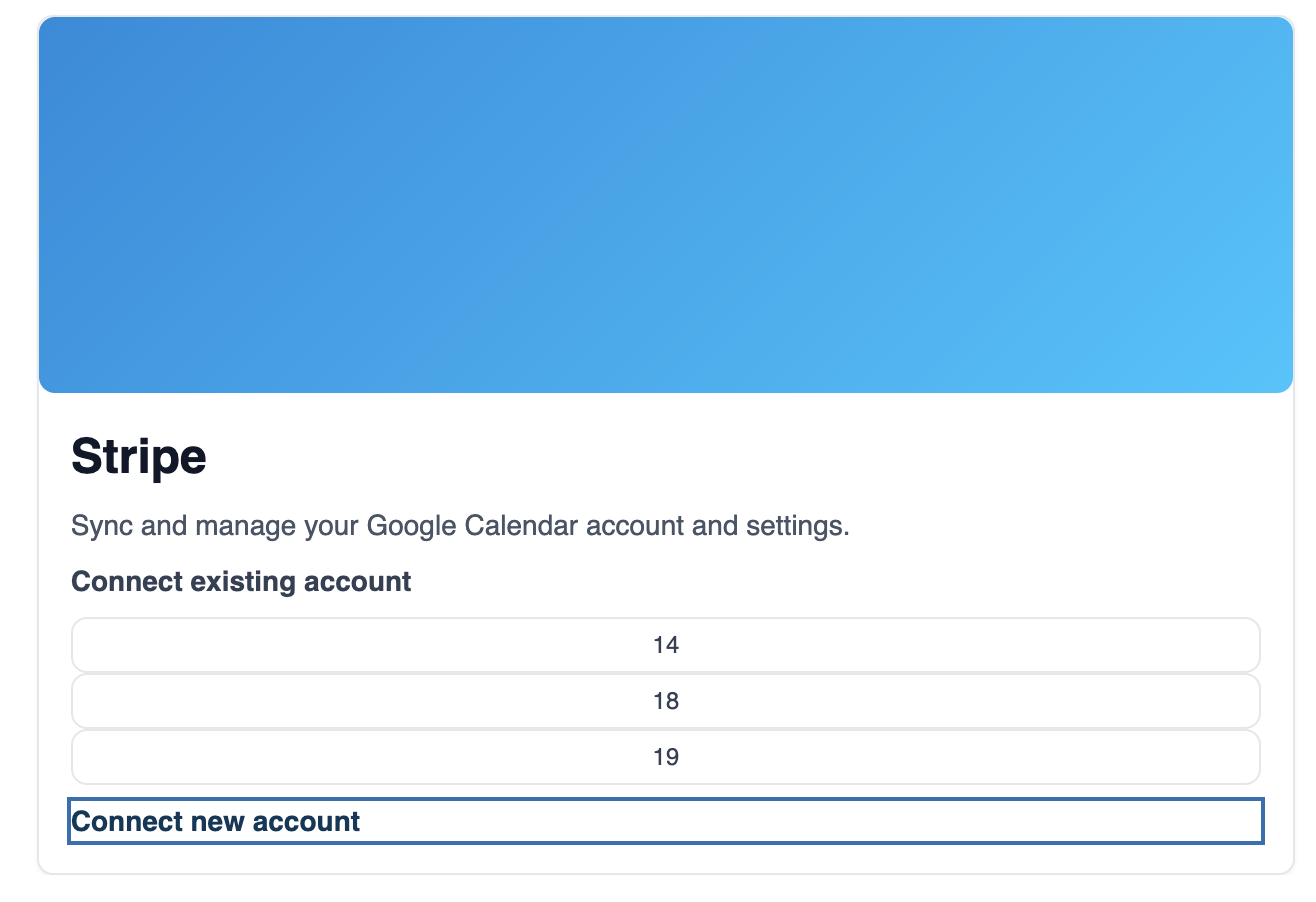
Initiate the Connection
On the Stripe integration page, click the Connect button.
You will be redirected to Stripe’s secure login page.

click the Add new account button.
You will be redirected to Stripe’s secure login page.
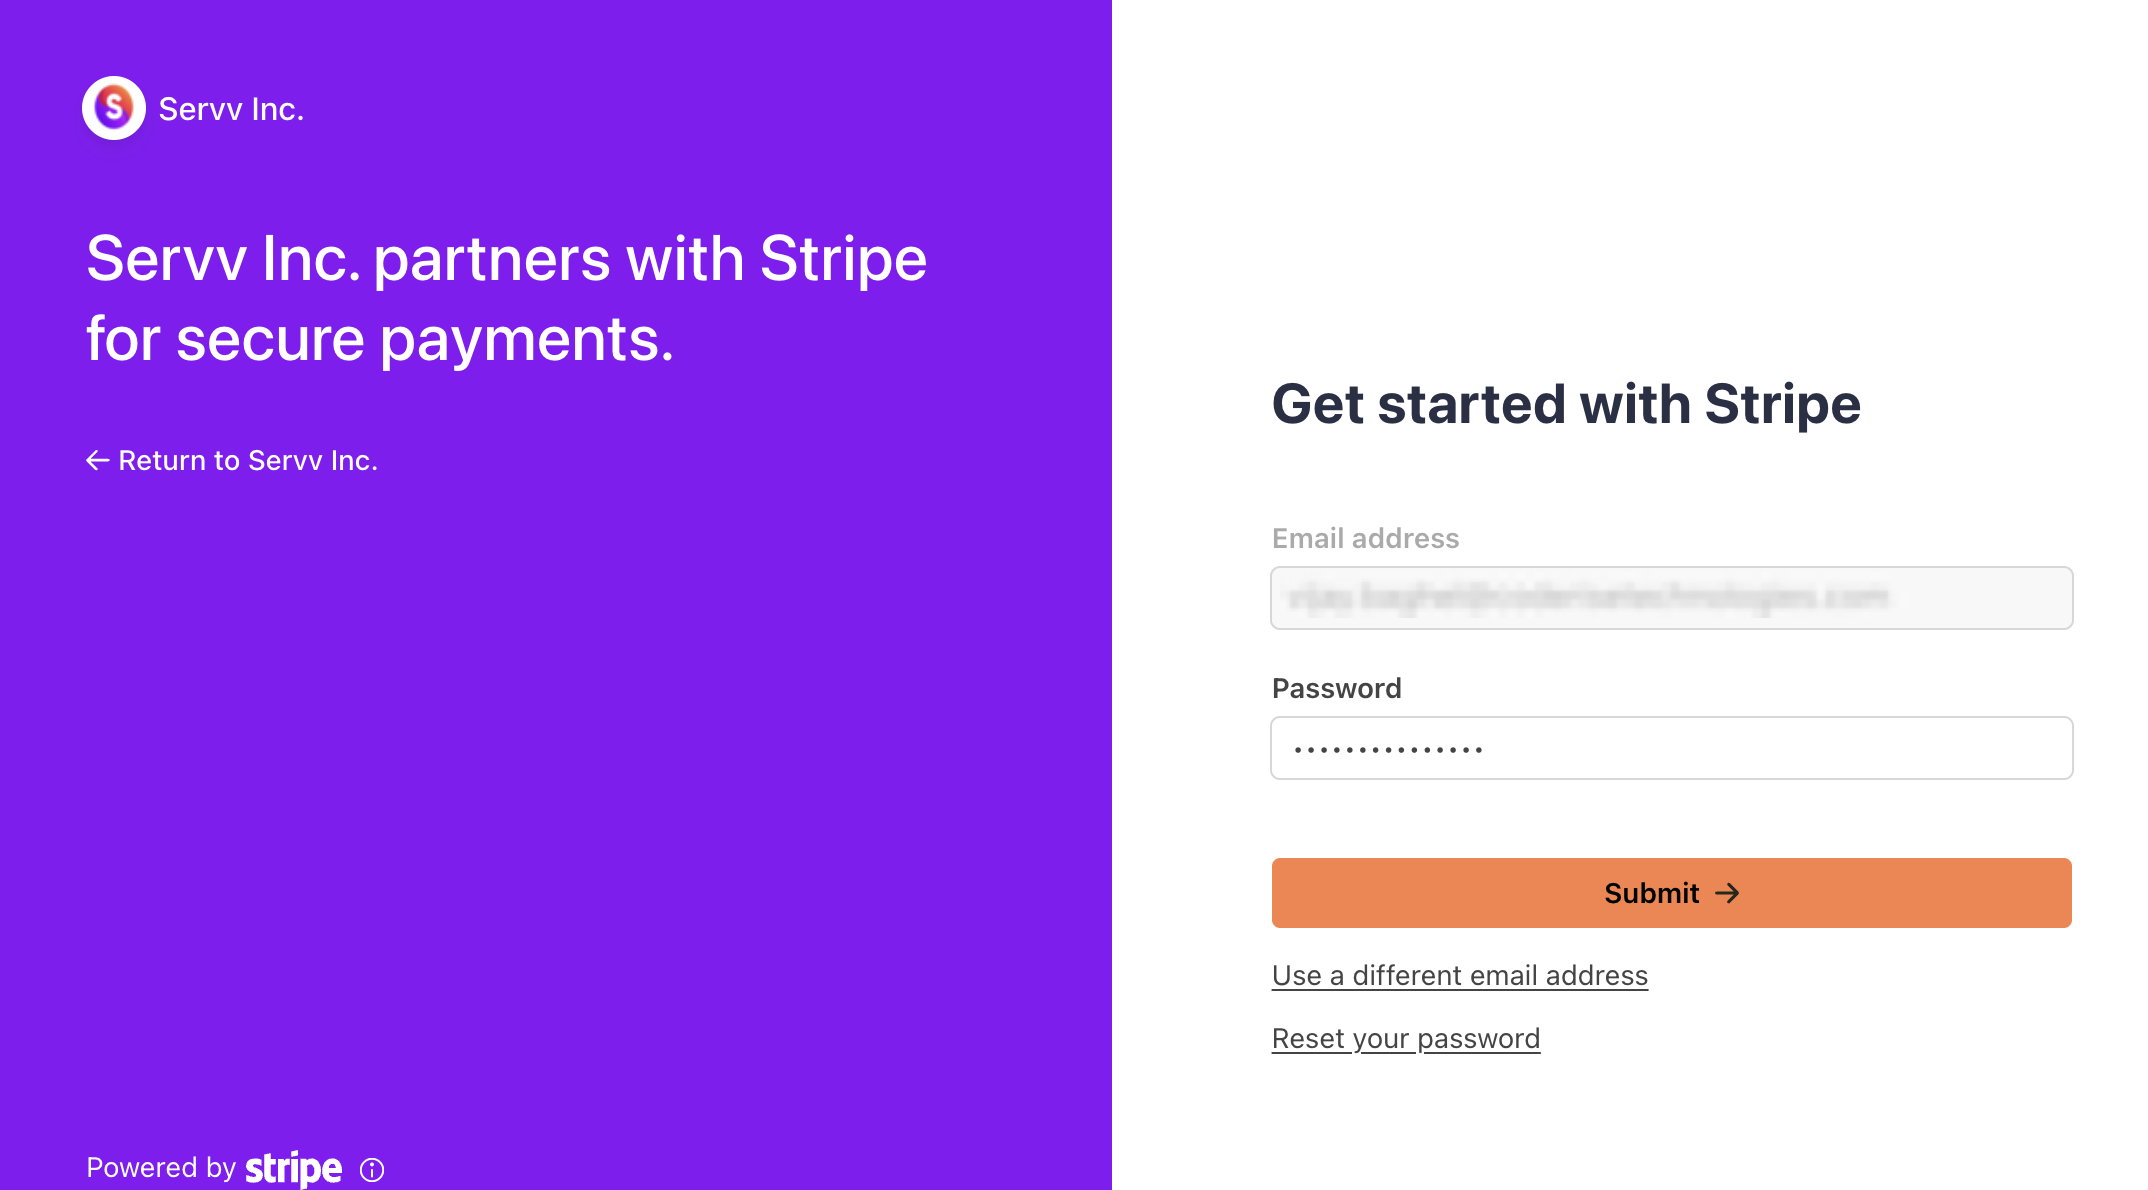
Sign in to Stripe
Enter your Stripe account credentials (email and password).
Click Sign In to proceed.
If you do not have a Stripe account, follow the on-screen instructions to create one.
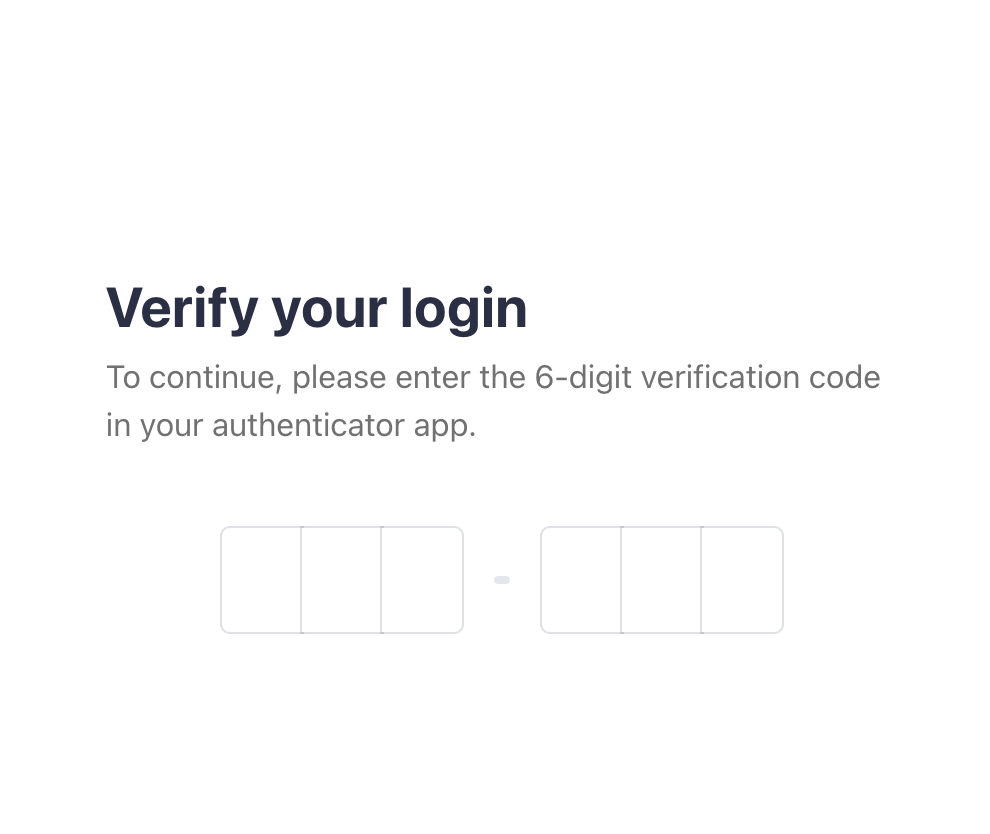
Verify Login with Authenticator App
When connecting your plugin with Stripe, you may be asked to verify your account using two-factor authentication (2FA).
Enter the 6-digit code shown for your Stripe account.
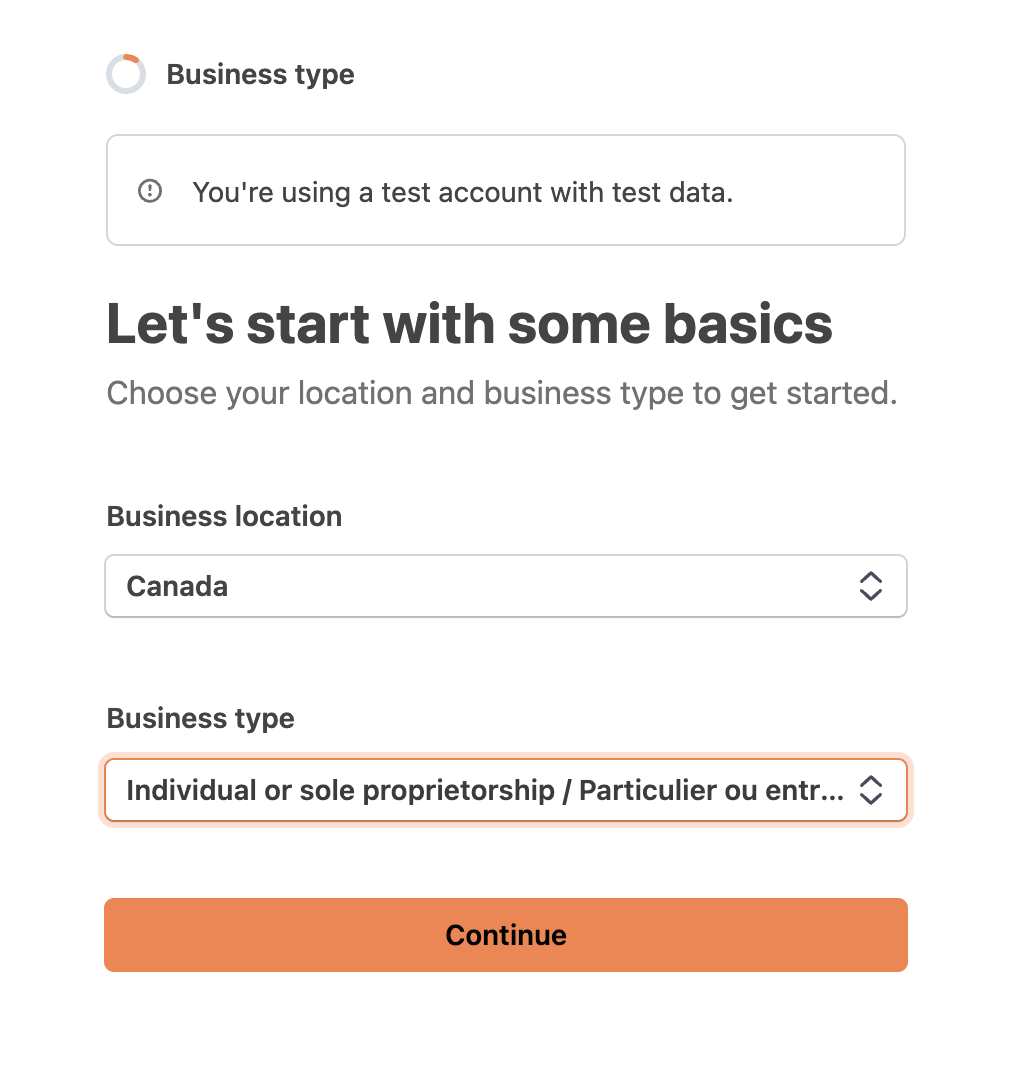
Enter your business location and Type
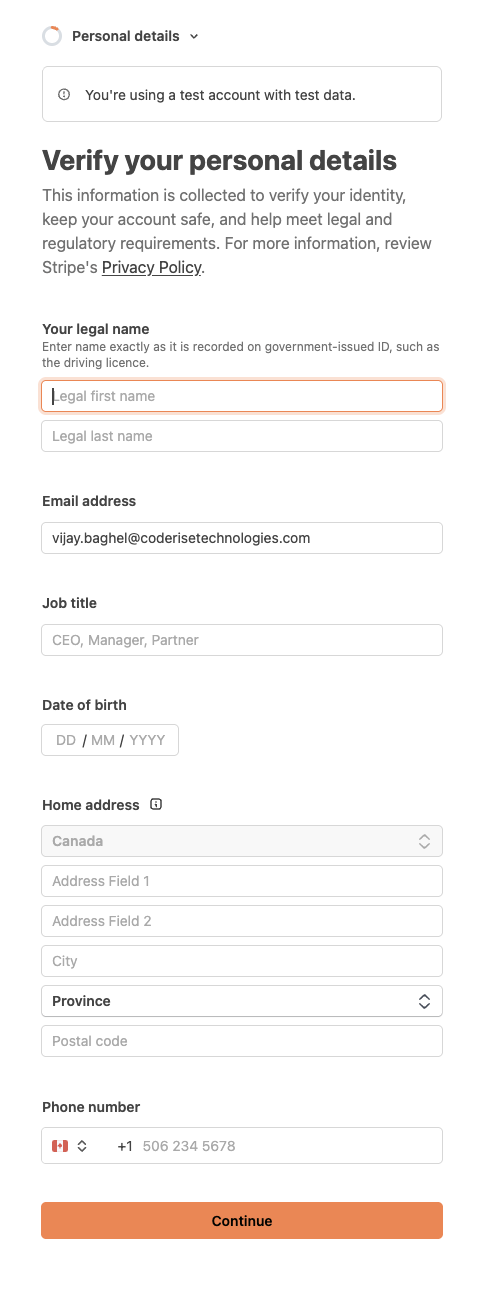
Verify Personal Details
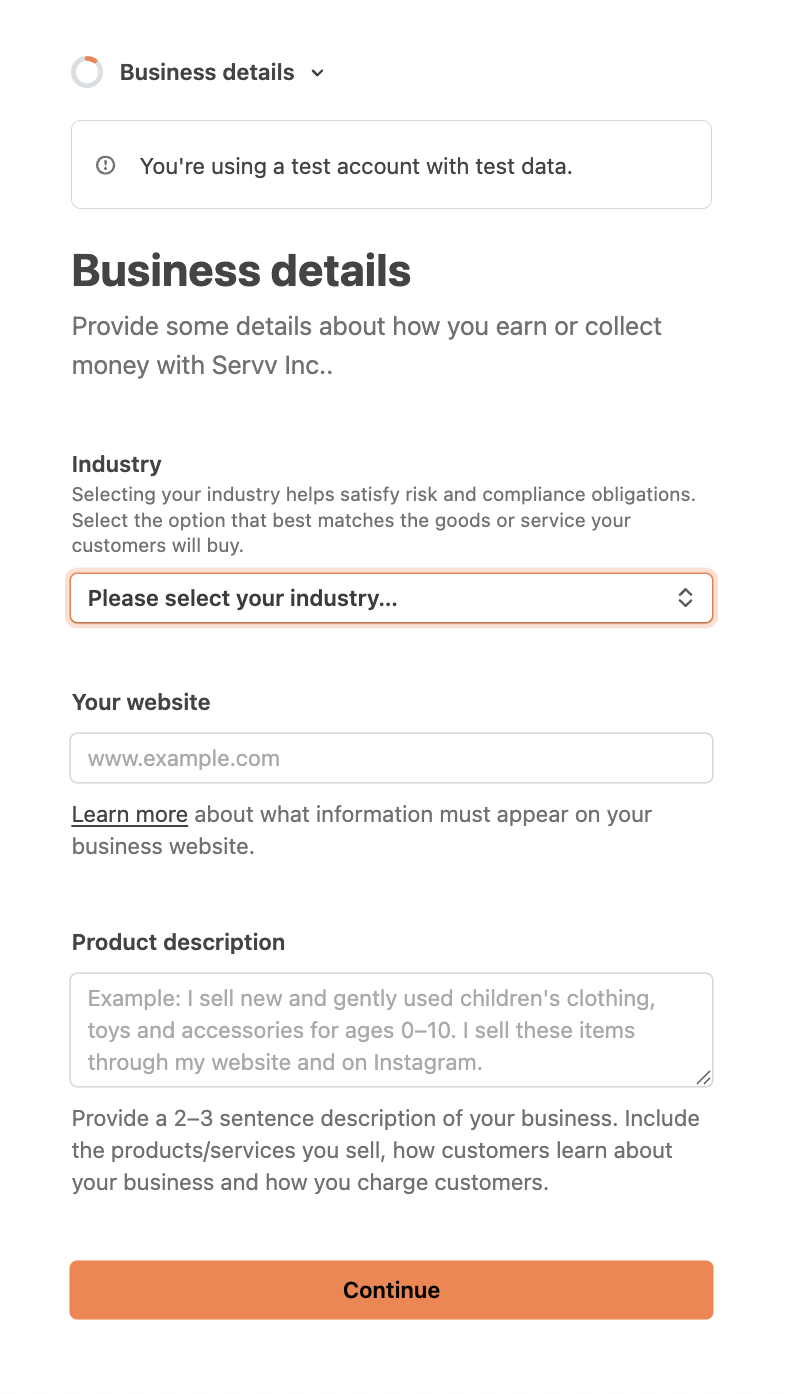
Add Business Details
Pick the Primary Product Type You Sell

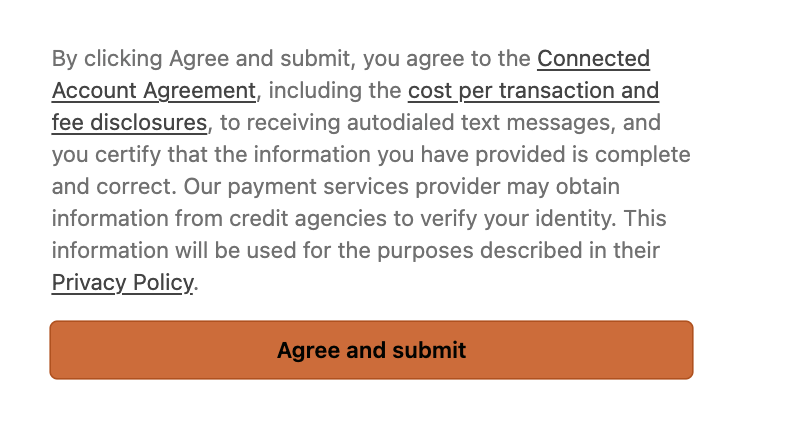
Review the Details carefully then click on Agree and submit
Verify Connection Status
Once authorized, you will be redirected to the integration dashboard.
Confirm that the Stripe integration status displays as Connected.
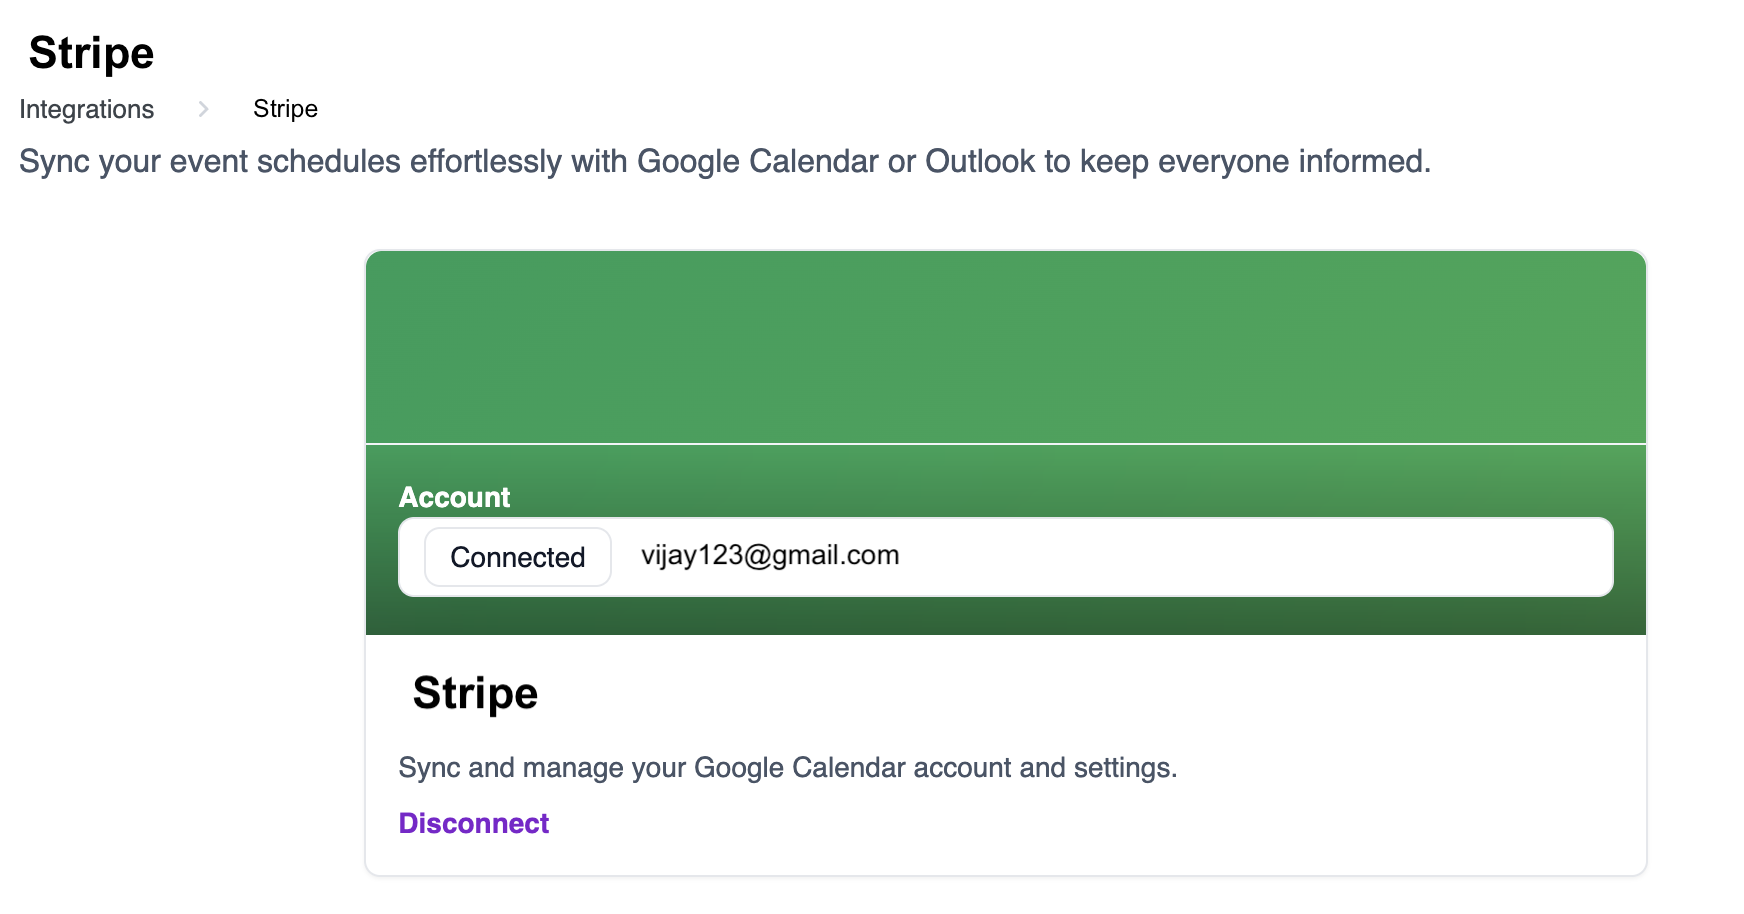
Tip: If the status does not show as Connected, verify your Stripe account setup and permissions, then repeat the setup process.
Post-Integration Notes
- Test Payment: Use Stripe’s test mode to process a dummy transaction and verify functionality.
- Currencies: Ensure that your Stripe account supports the currencies you plan to accept.
- Troubleshooting: If payments are failing, check your Stripe dashboard for alerts or reauthorize the integration.
Need Help?
- Check our FAQs
- Submit a Support Request Form
- Chat with us directly from your Servv dashboard