Support Guide: How to Add Google Analytics to Servv and Monitor Traffic
This guide explains to integrate Google Analytics with Servv to track visitor activity and monitor site performance.
By completing this setup, you will be able to:
- Track visitor traffic
- Monitor user engagement
- View real-time activity
- Analyze performance trends
Prerequisites
Before starting, ensure you have:
- A Google account
- Access to your Servv dashboard
- A live website with Servv widget embedded
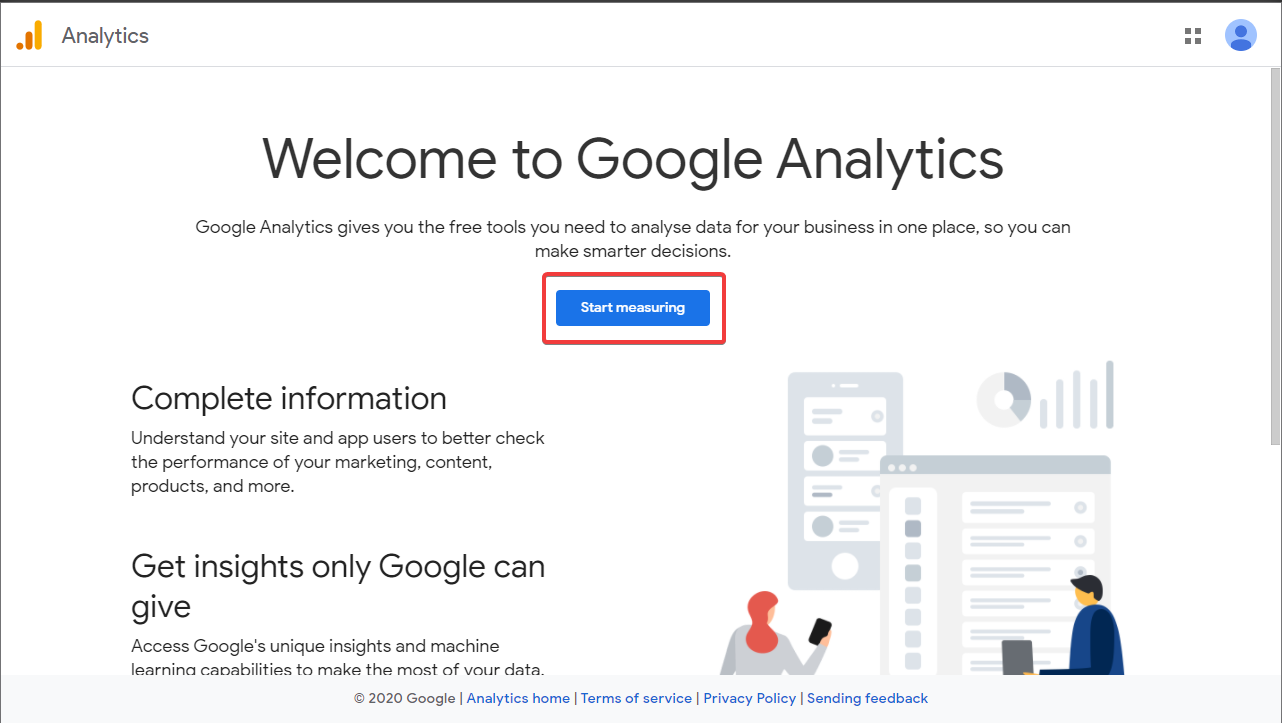
Step 1: Create a Google Analytics Property
Go to Google Analytics then click Start Measuring Enter Account Name (e.g., Your Business Name) and Click Next
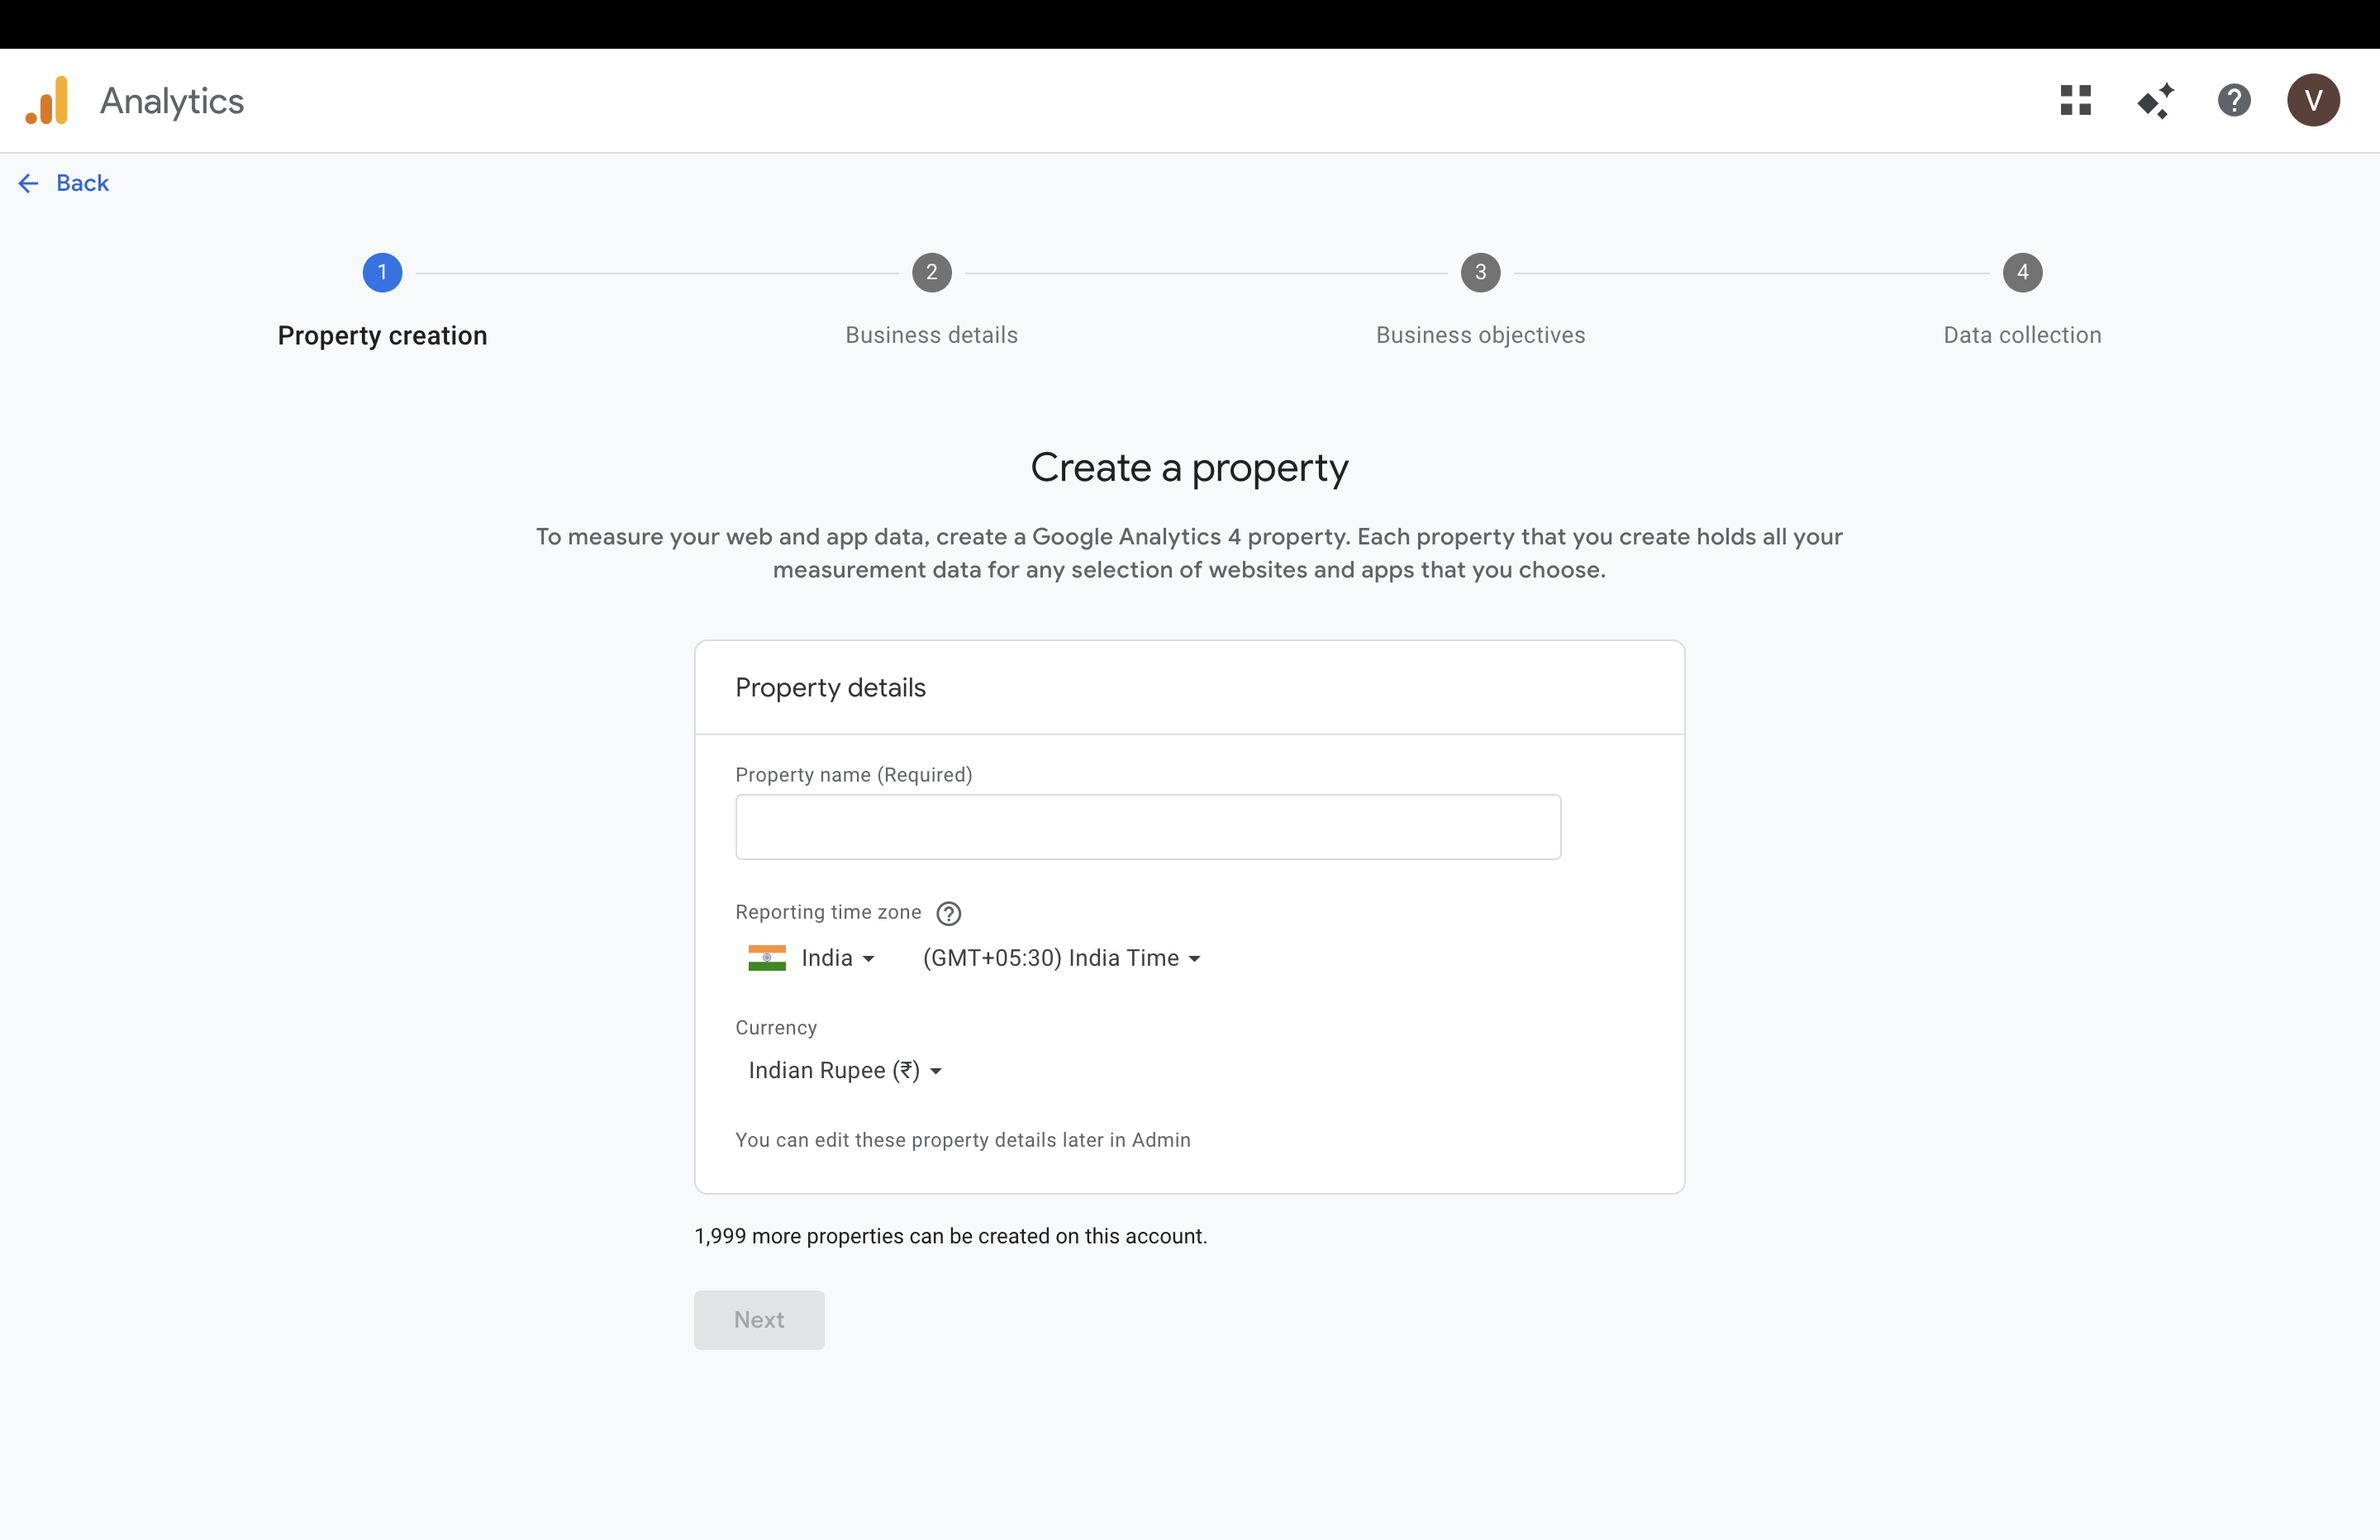
Create Property
- Property Name → Example: Servv Tracking
- Time Zone → Your region
- Currency → Your preferred currency Click next
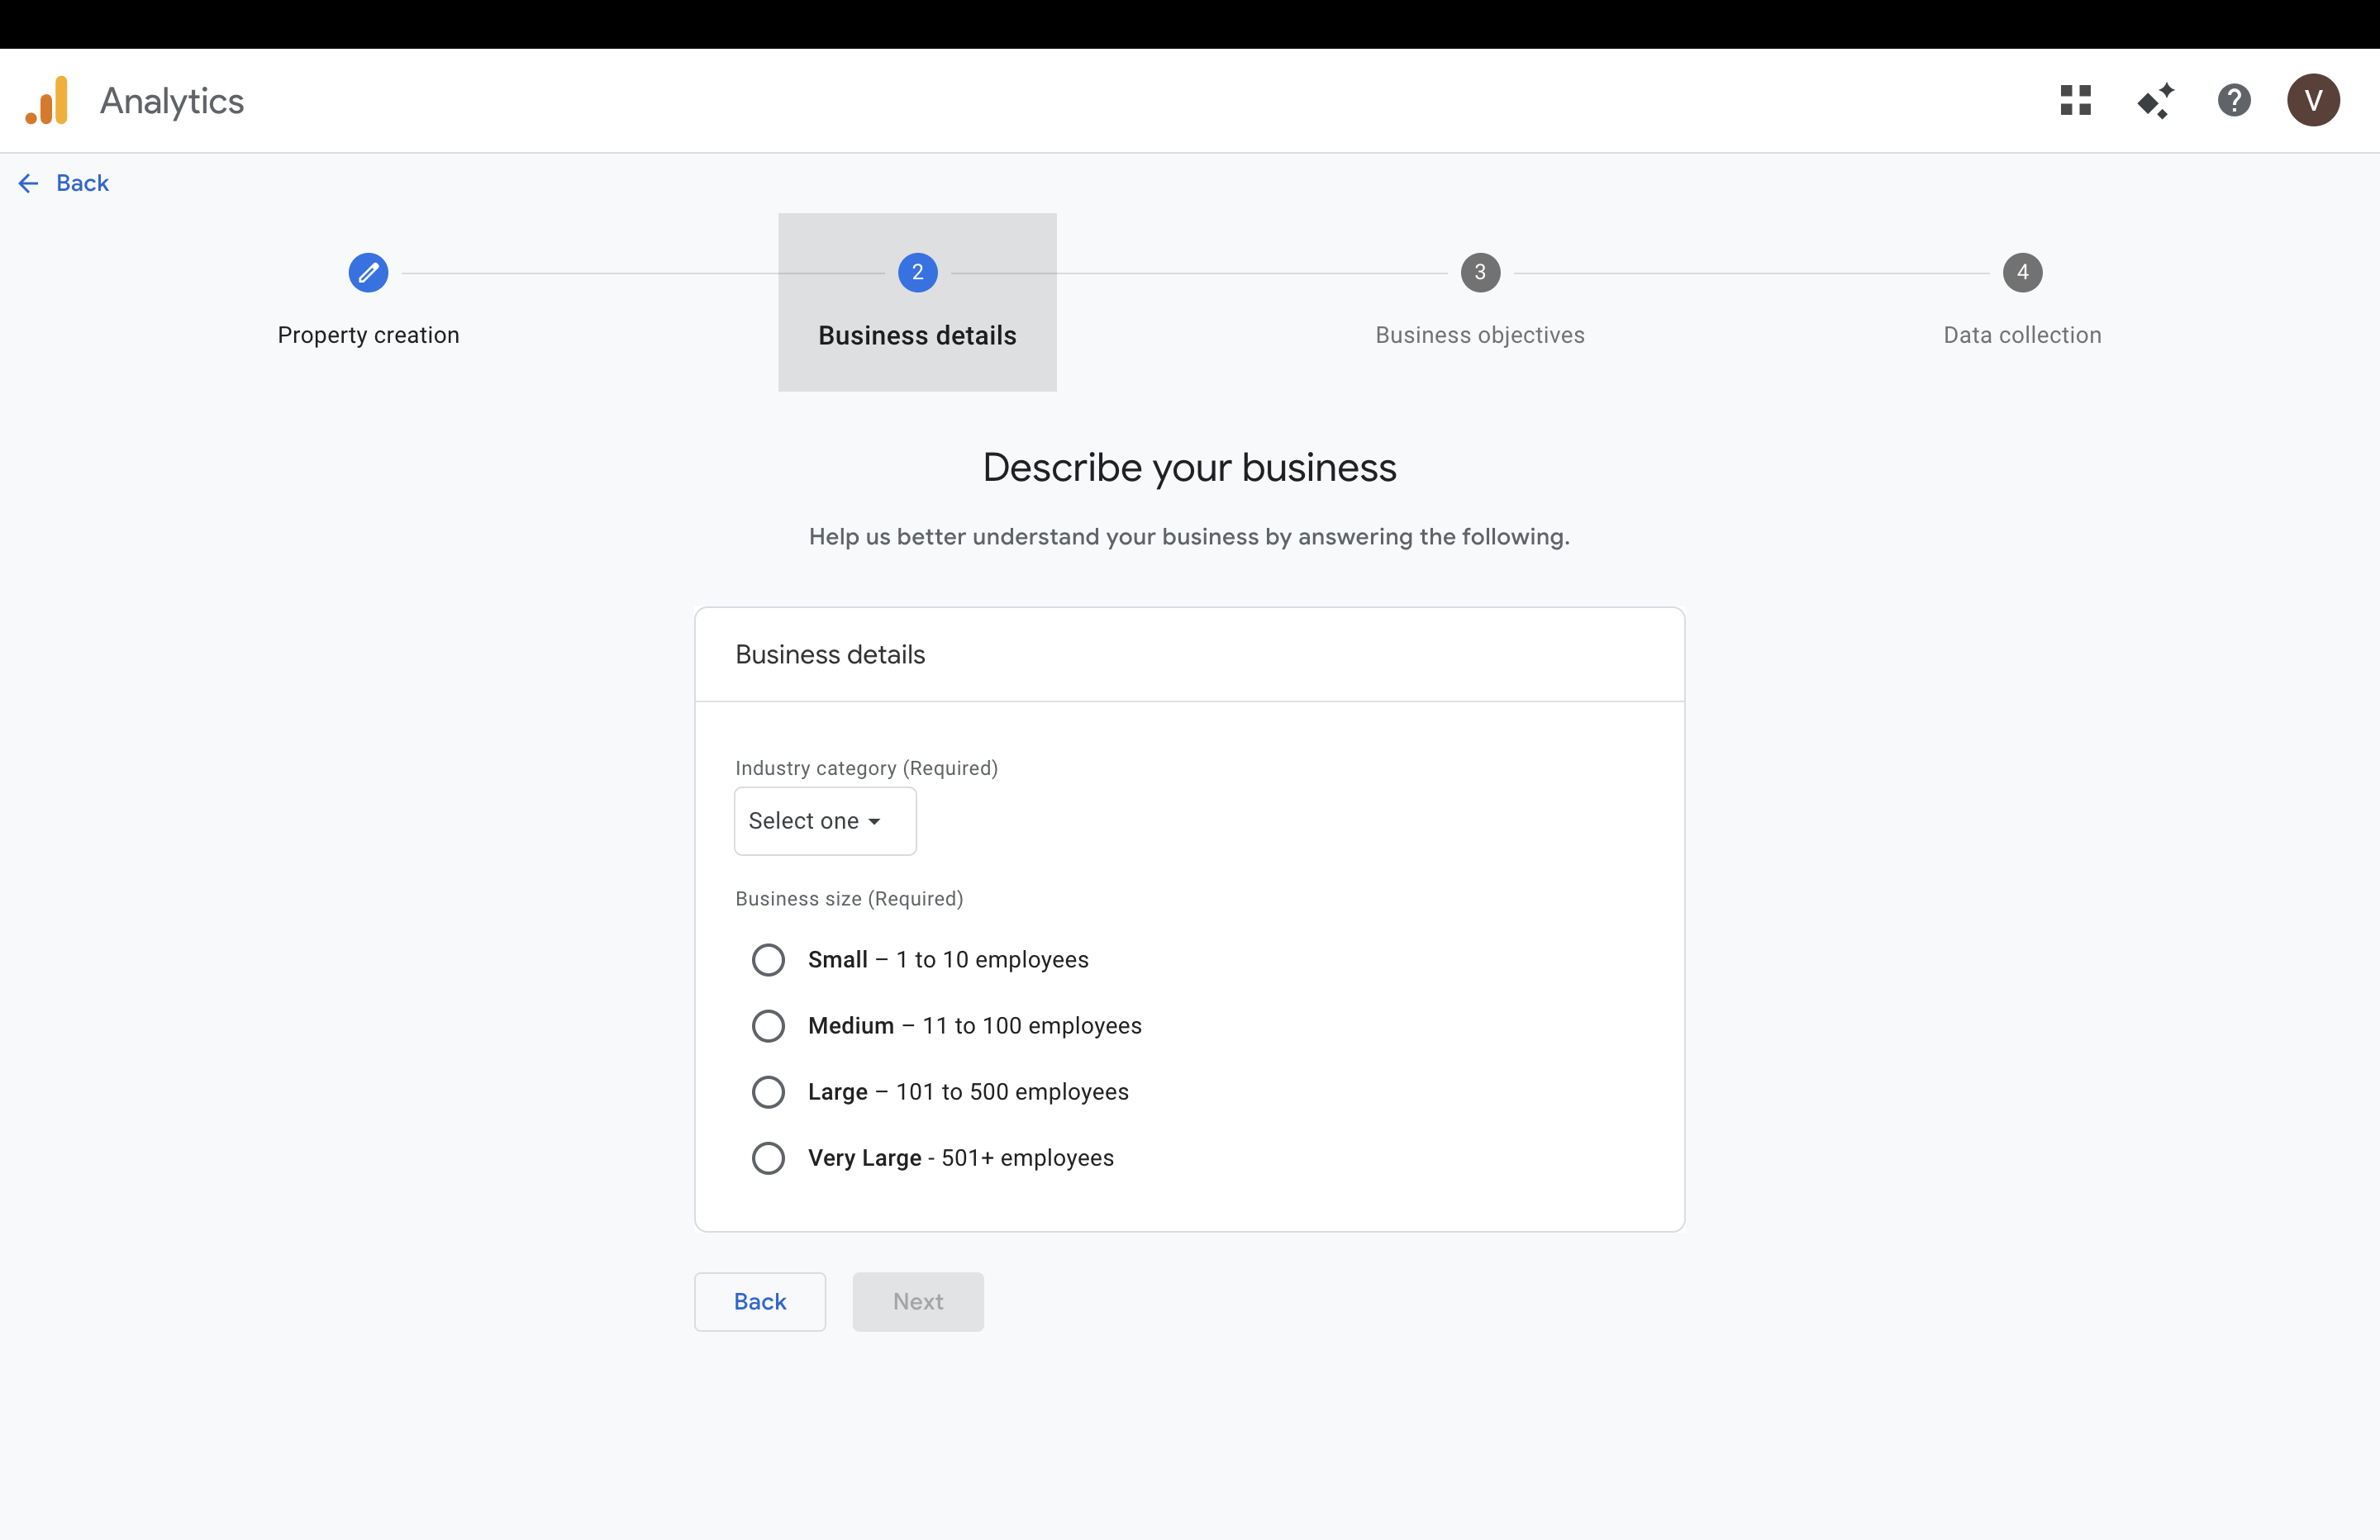
Business Details
Select:
- Industry Category → Choose any relevant option
- Business Size → Select based on your company size Click Next
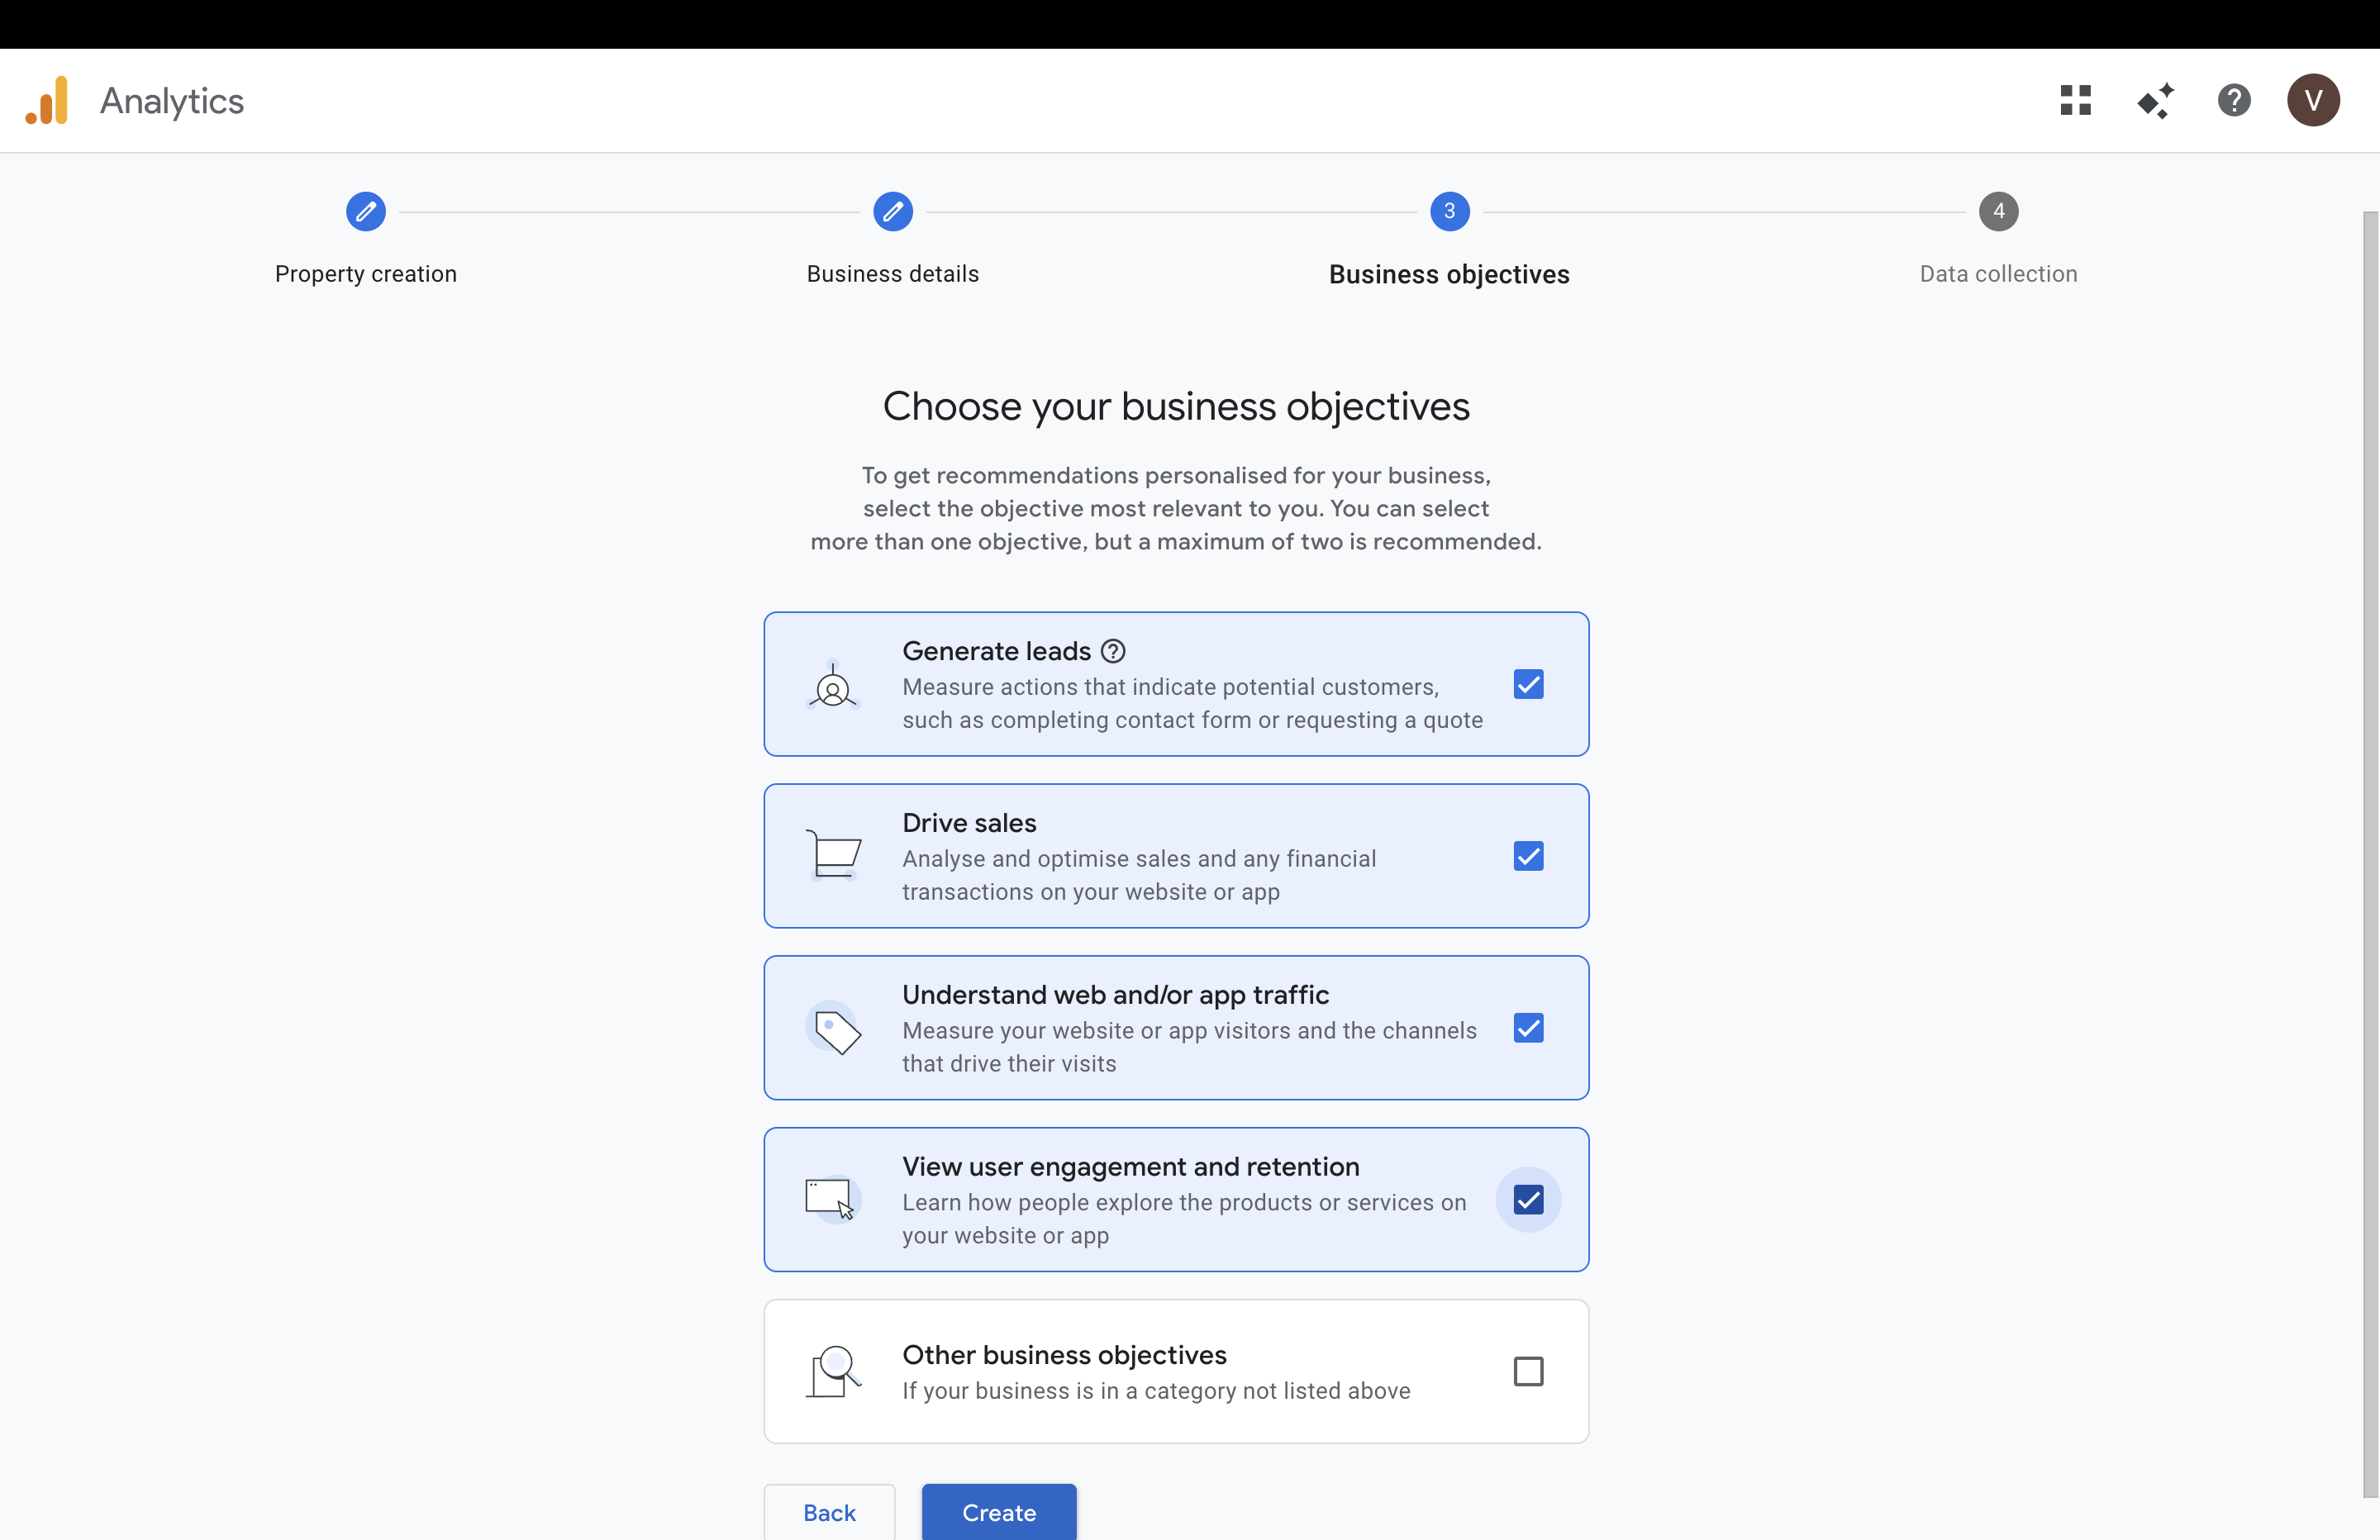
Business Objectives
Select any of the following (recommended):
- Generate leads
- Drive sales
- Understand web/app traffic
- View user engagement (You can select multiple options) Click Create
Step 2: Add a Web Data Stream
On the “Start collecting data” screen Click Web
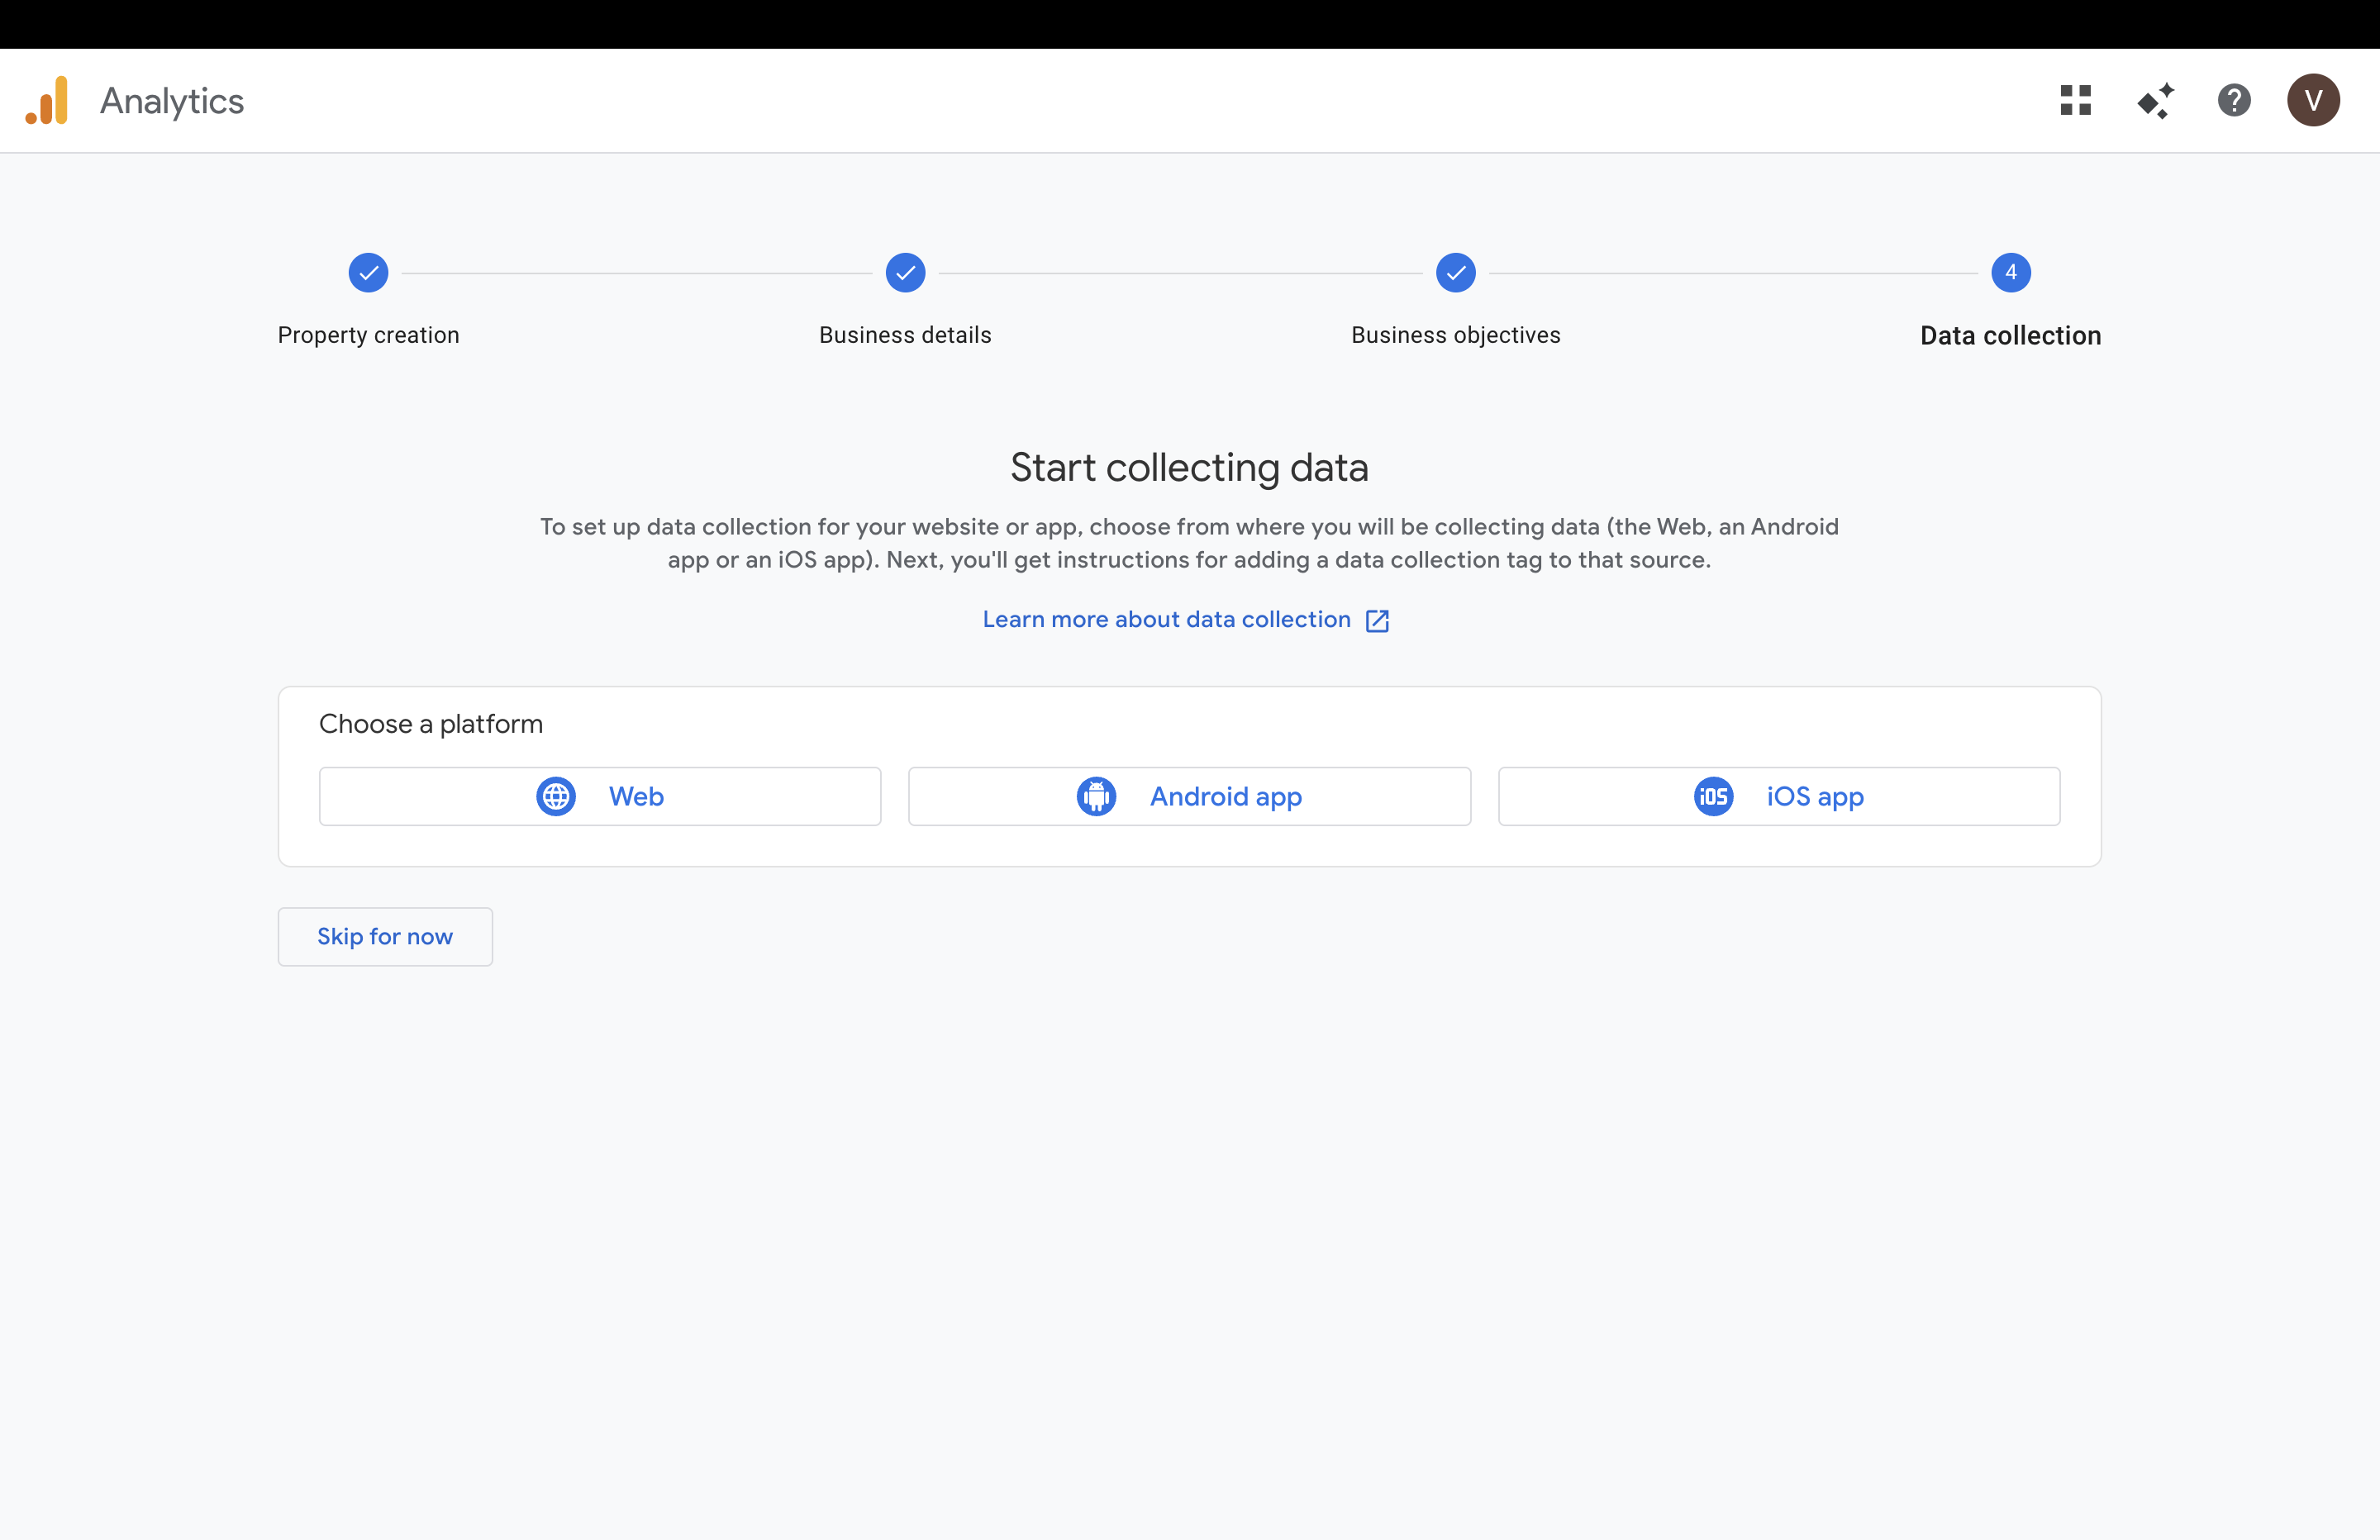
Set Up Web Stream
Enter the following details:
Website URL → Enter the page where your Servv widget is displayed Example: https://yourwebsite.com/events Stream Name → Example: Servv Widget
Enhanced Measurement
Keep Enhanced Measurement ON (default) This automatically tracks: Page views Scrolls Clicks User interactions
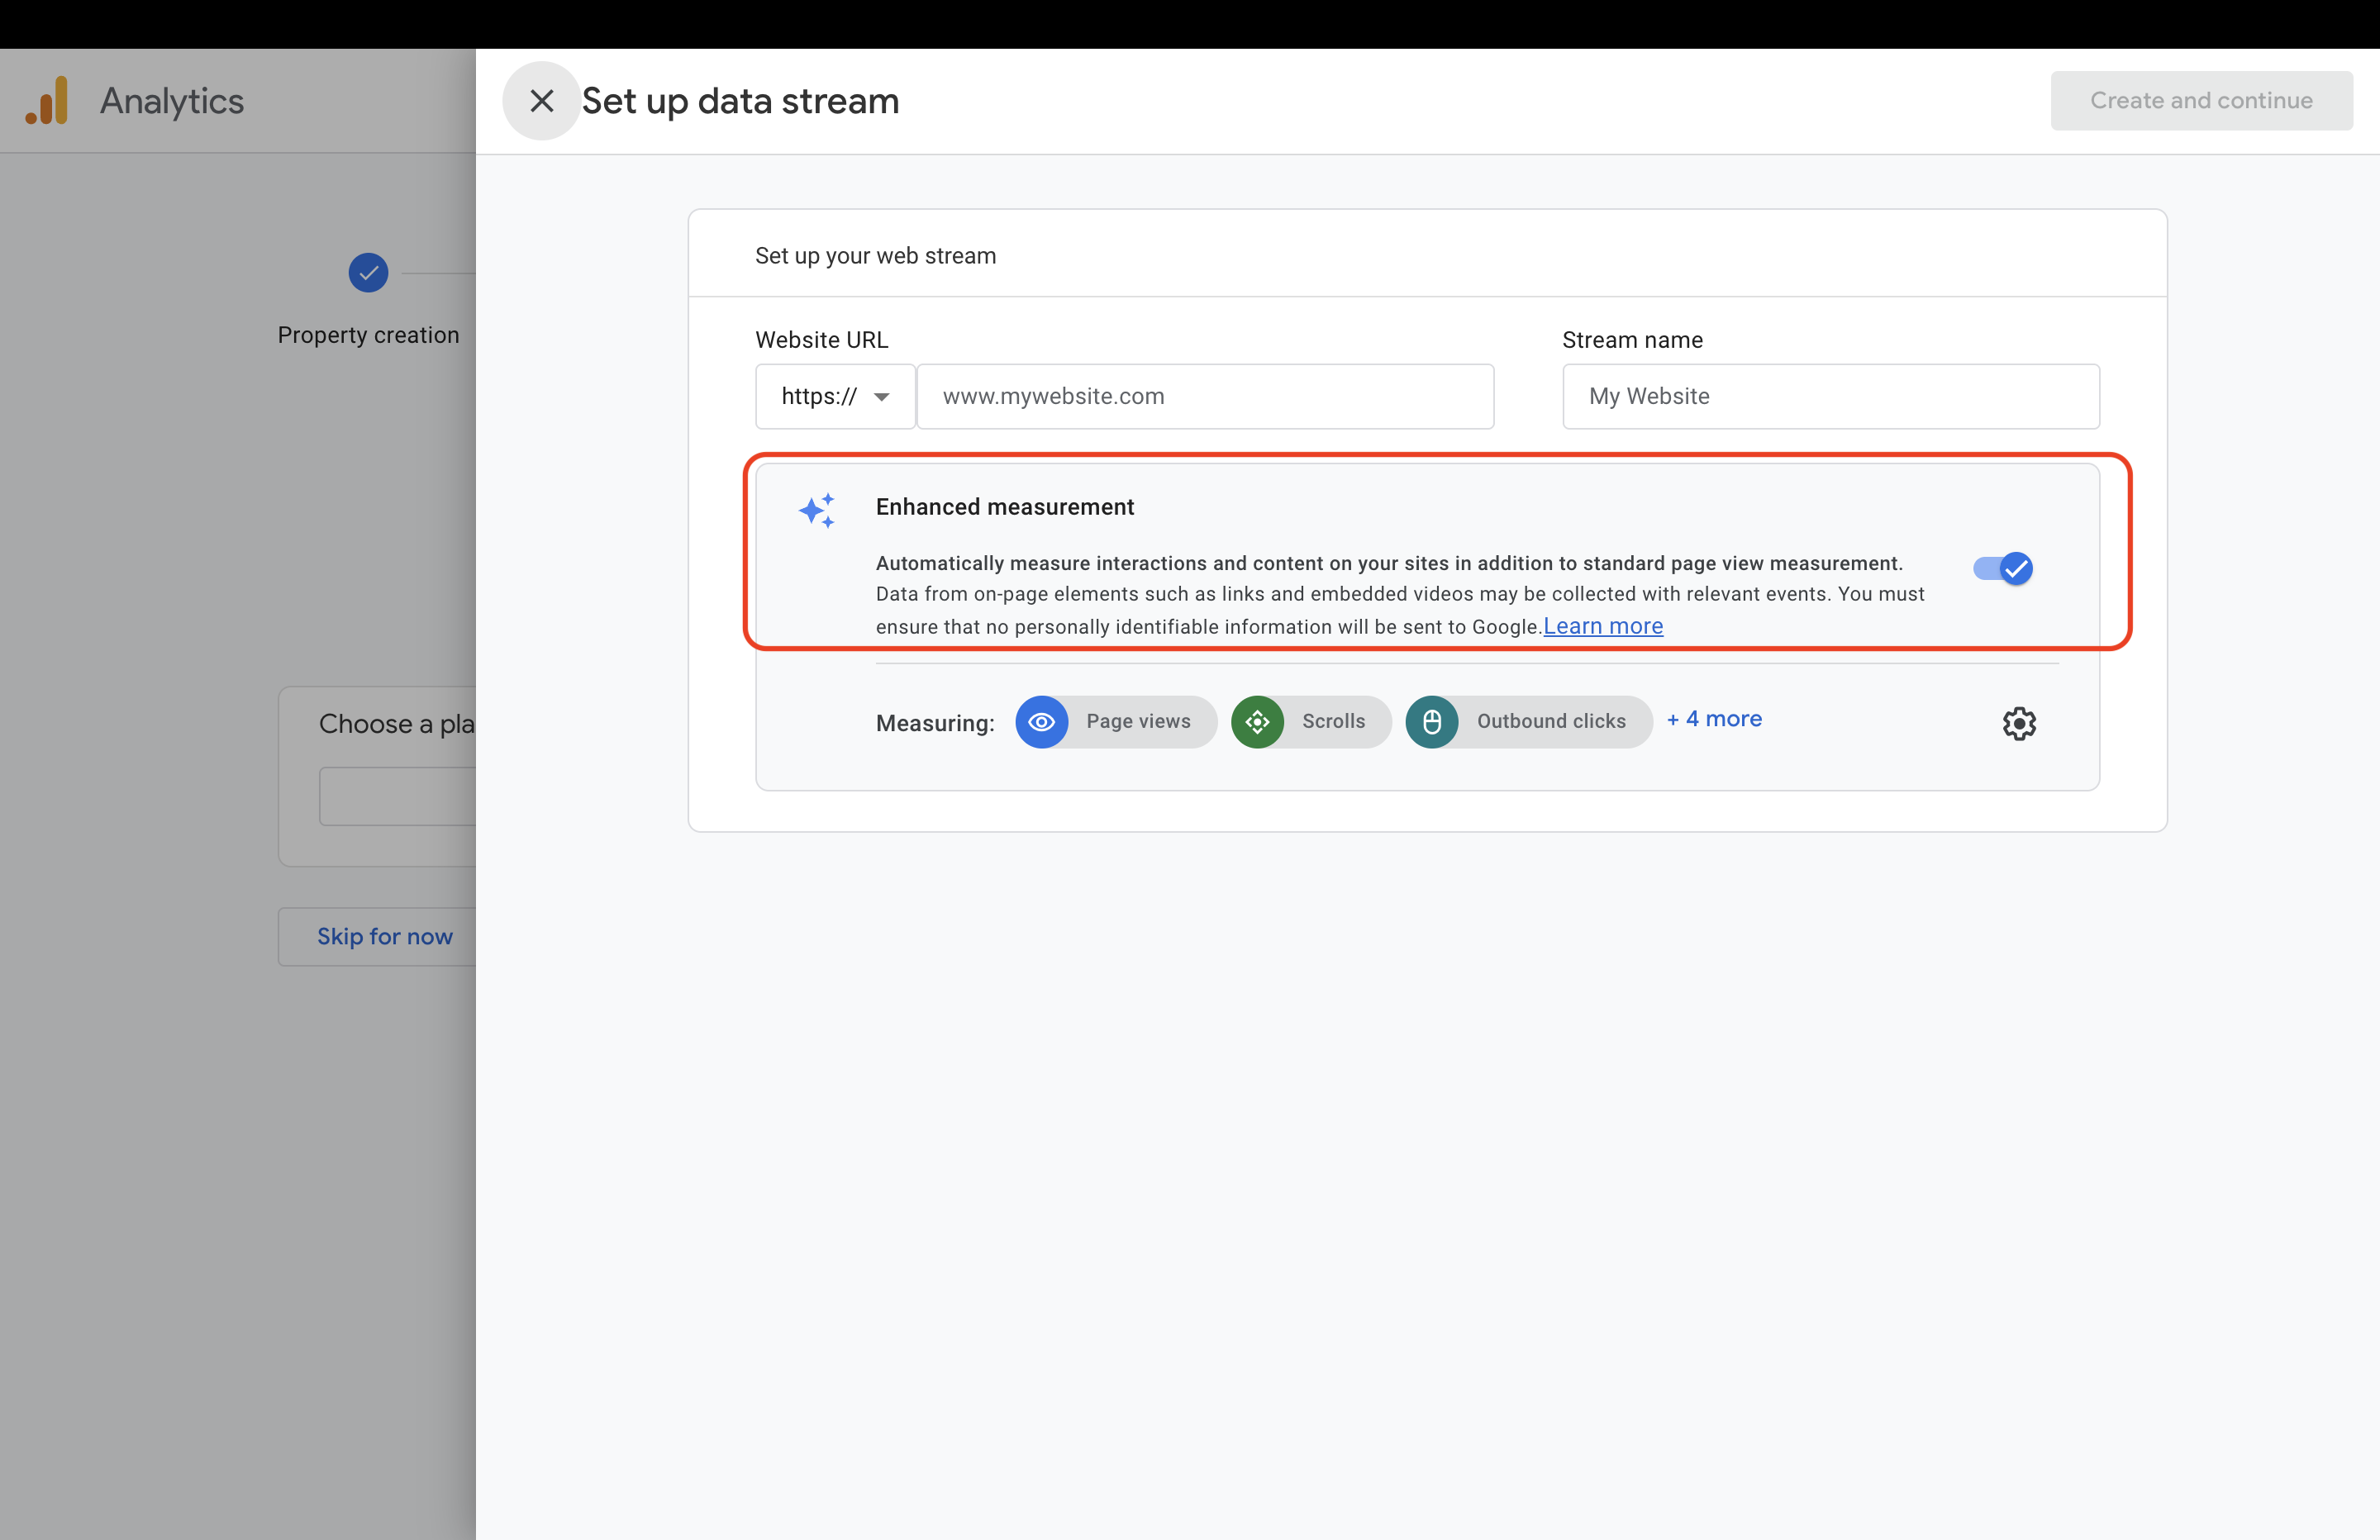
Click Create and continue
Step 3: Copy Measurement ID and Add to Servv
After creating your web data stream, you will see the Data Collection screen with your created stream listed.
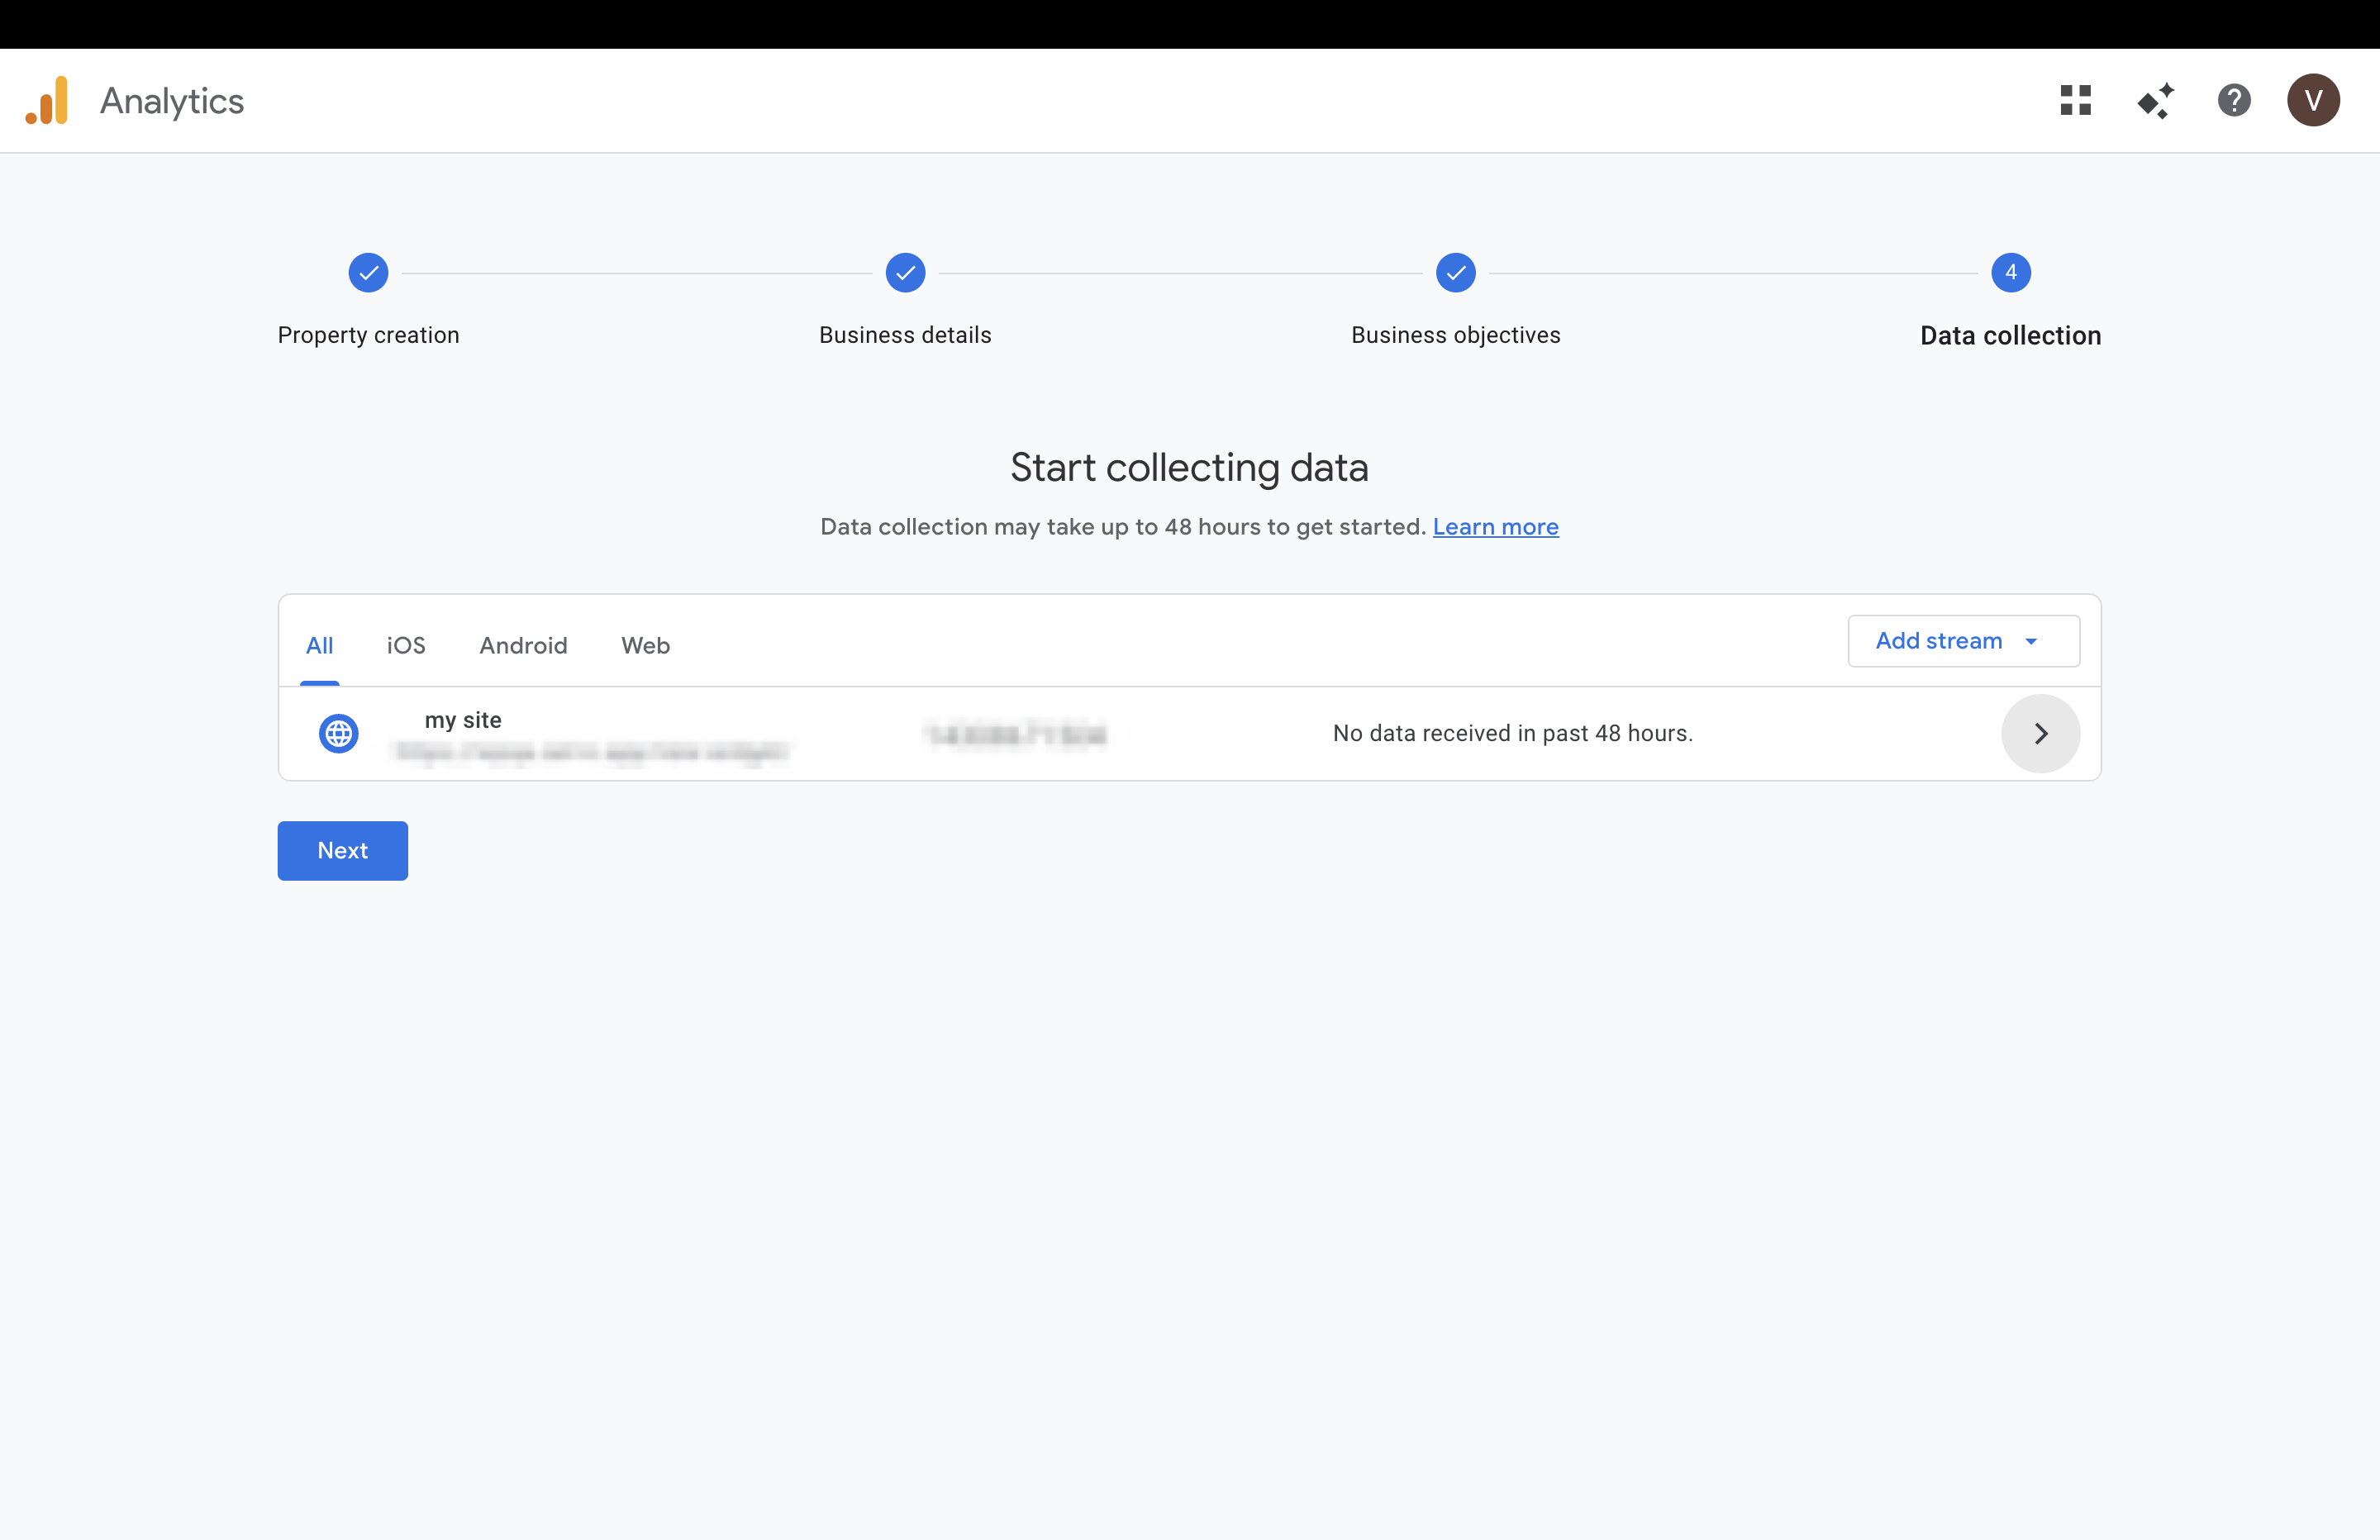
Open Web Stream Details
Click on the stream name this will open the Web Stream Details page
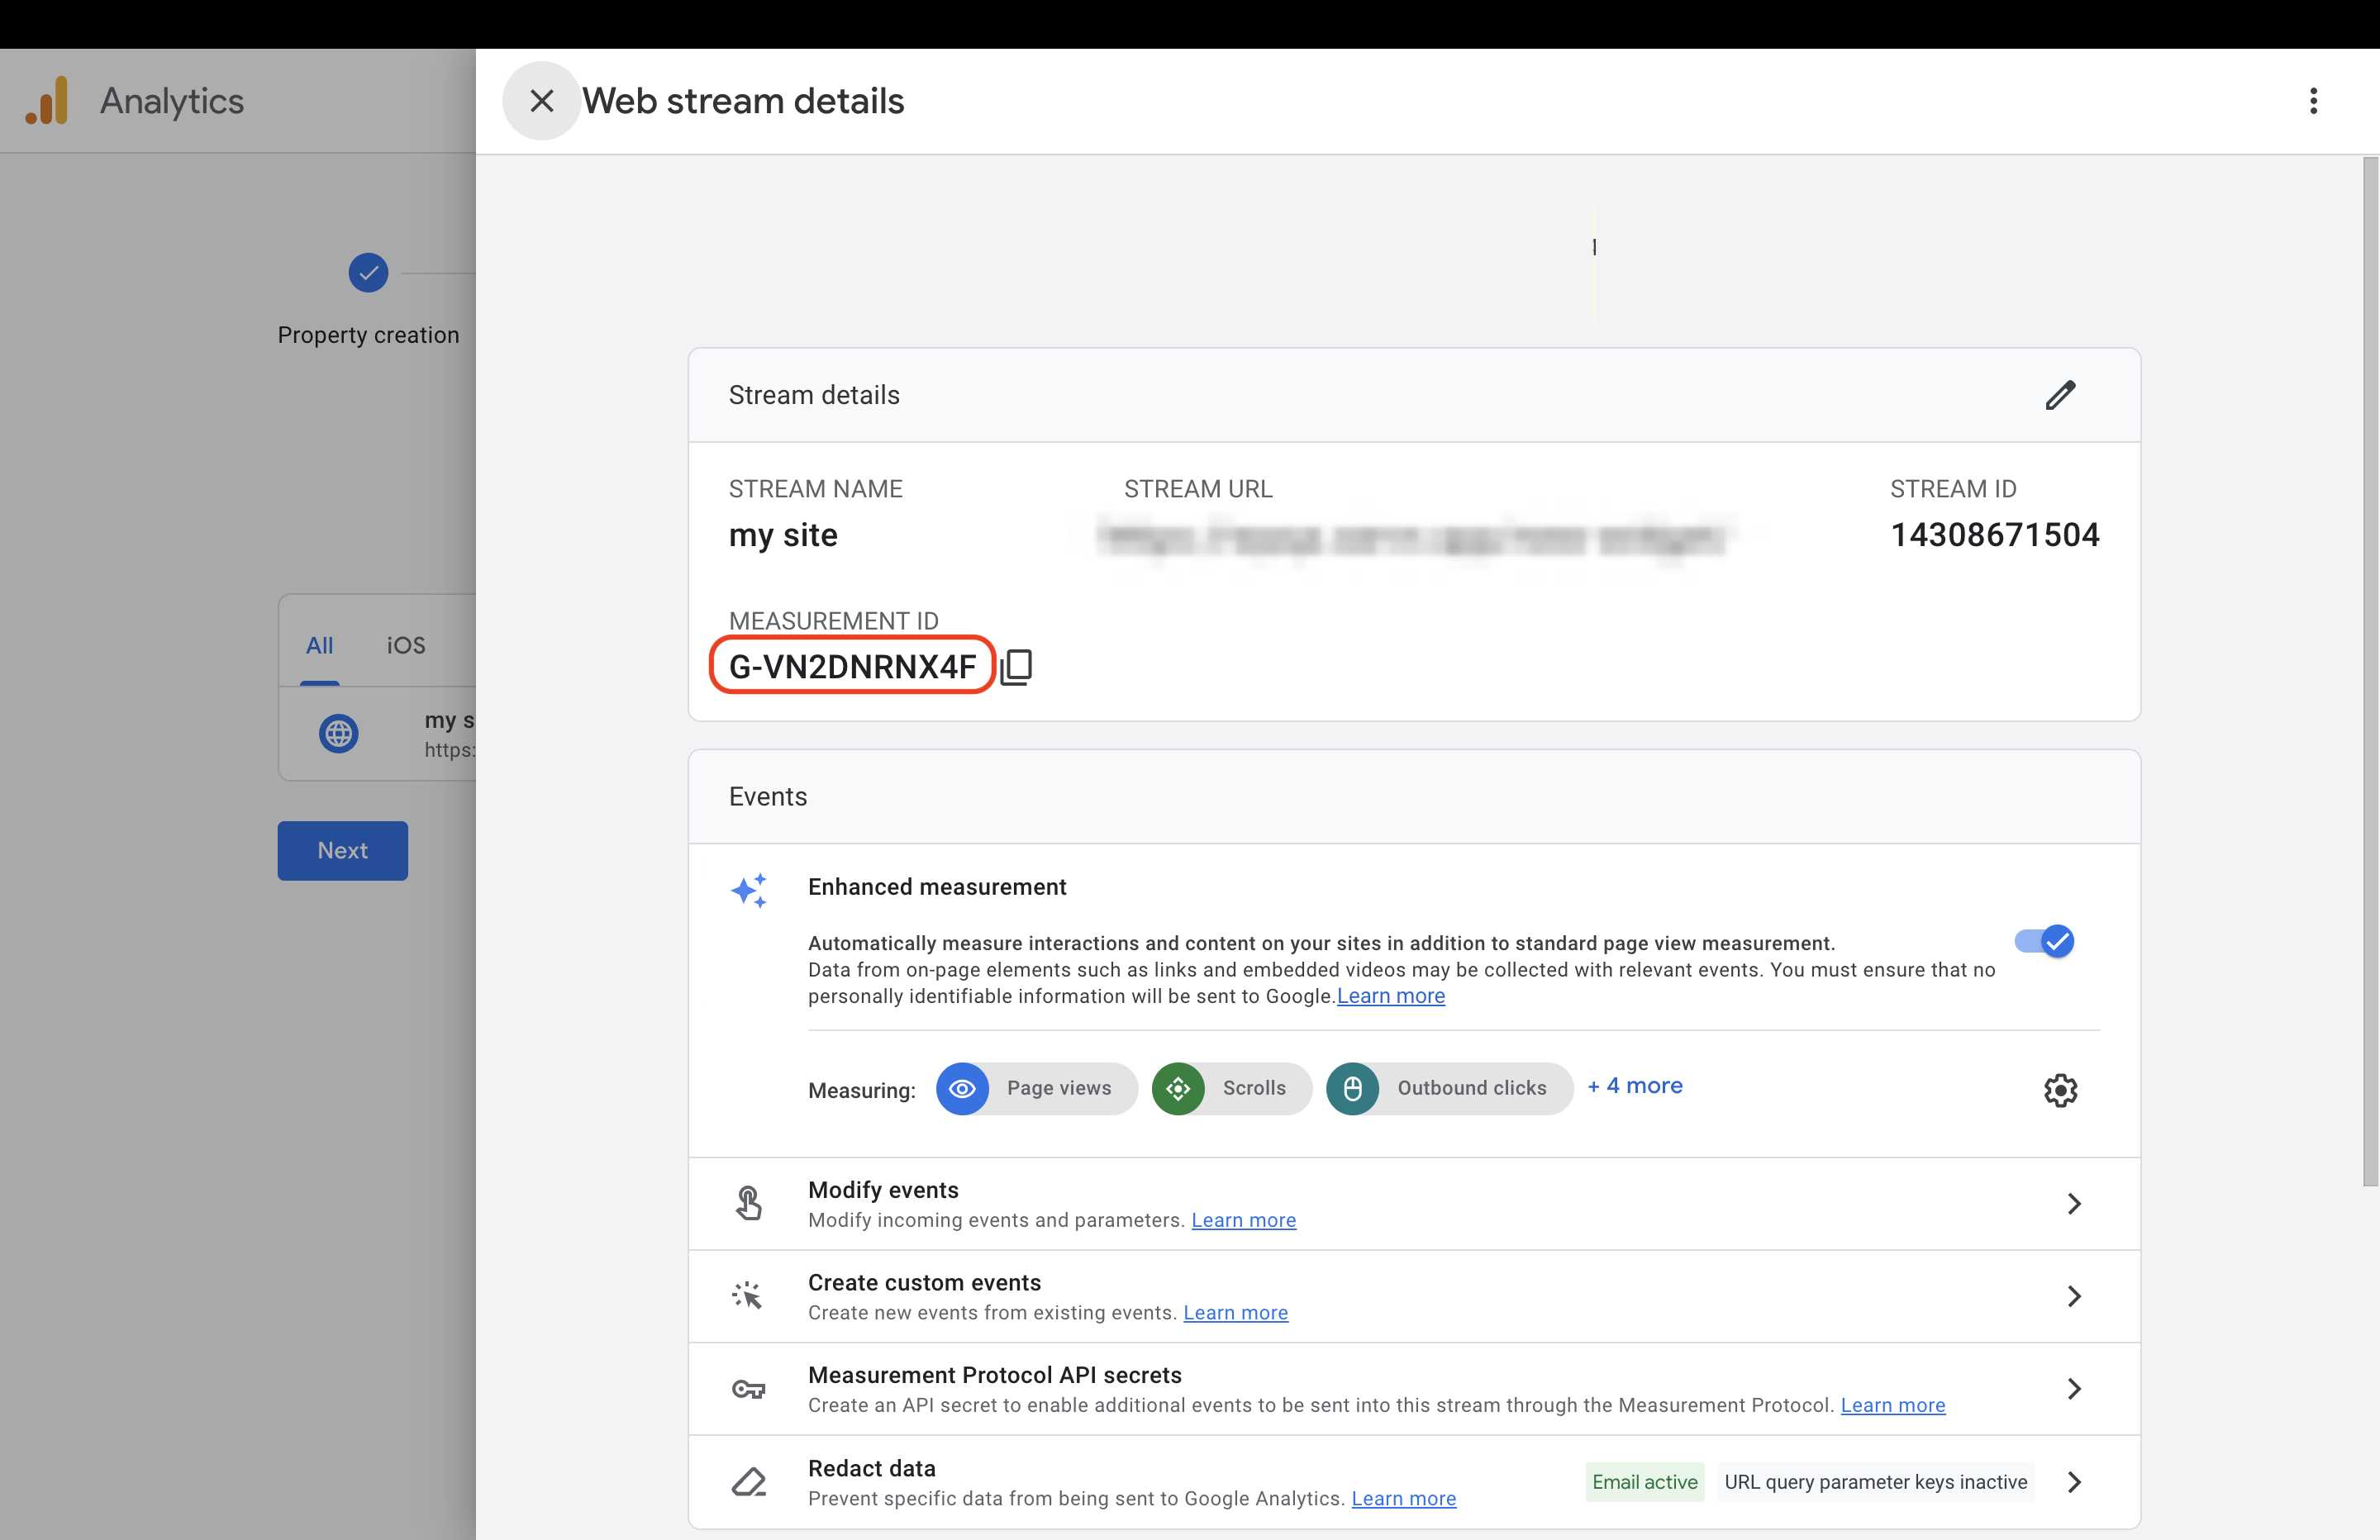
Copy Measurement ID
In the Web Stream Details screen: Find Measurement ID Format: G-XXXXXXXXXX Copy the Measurement ID
Add Measurement ID in Servv
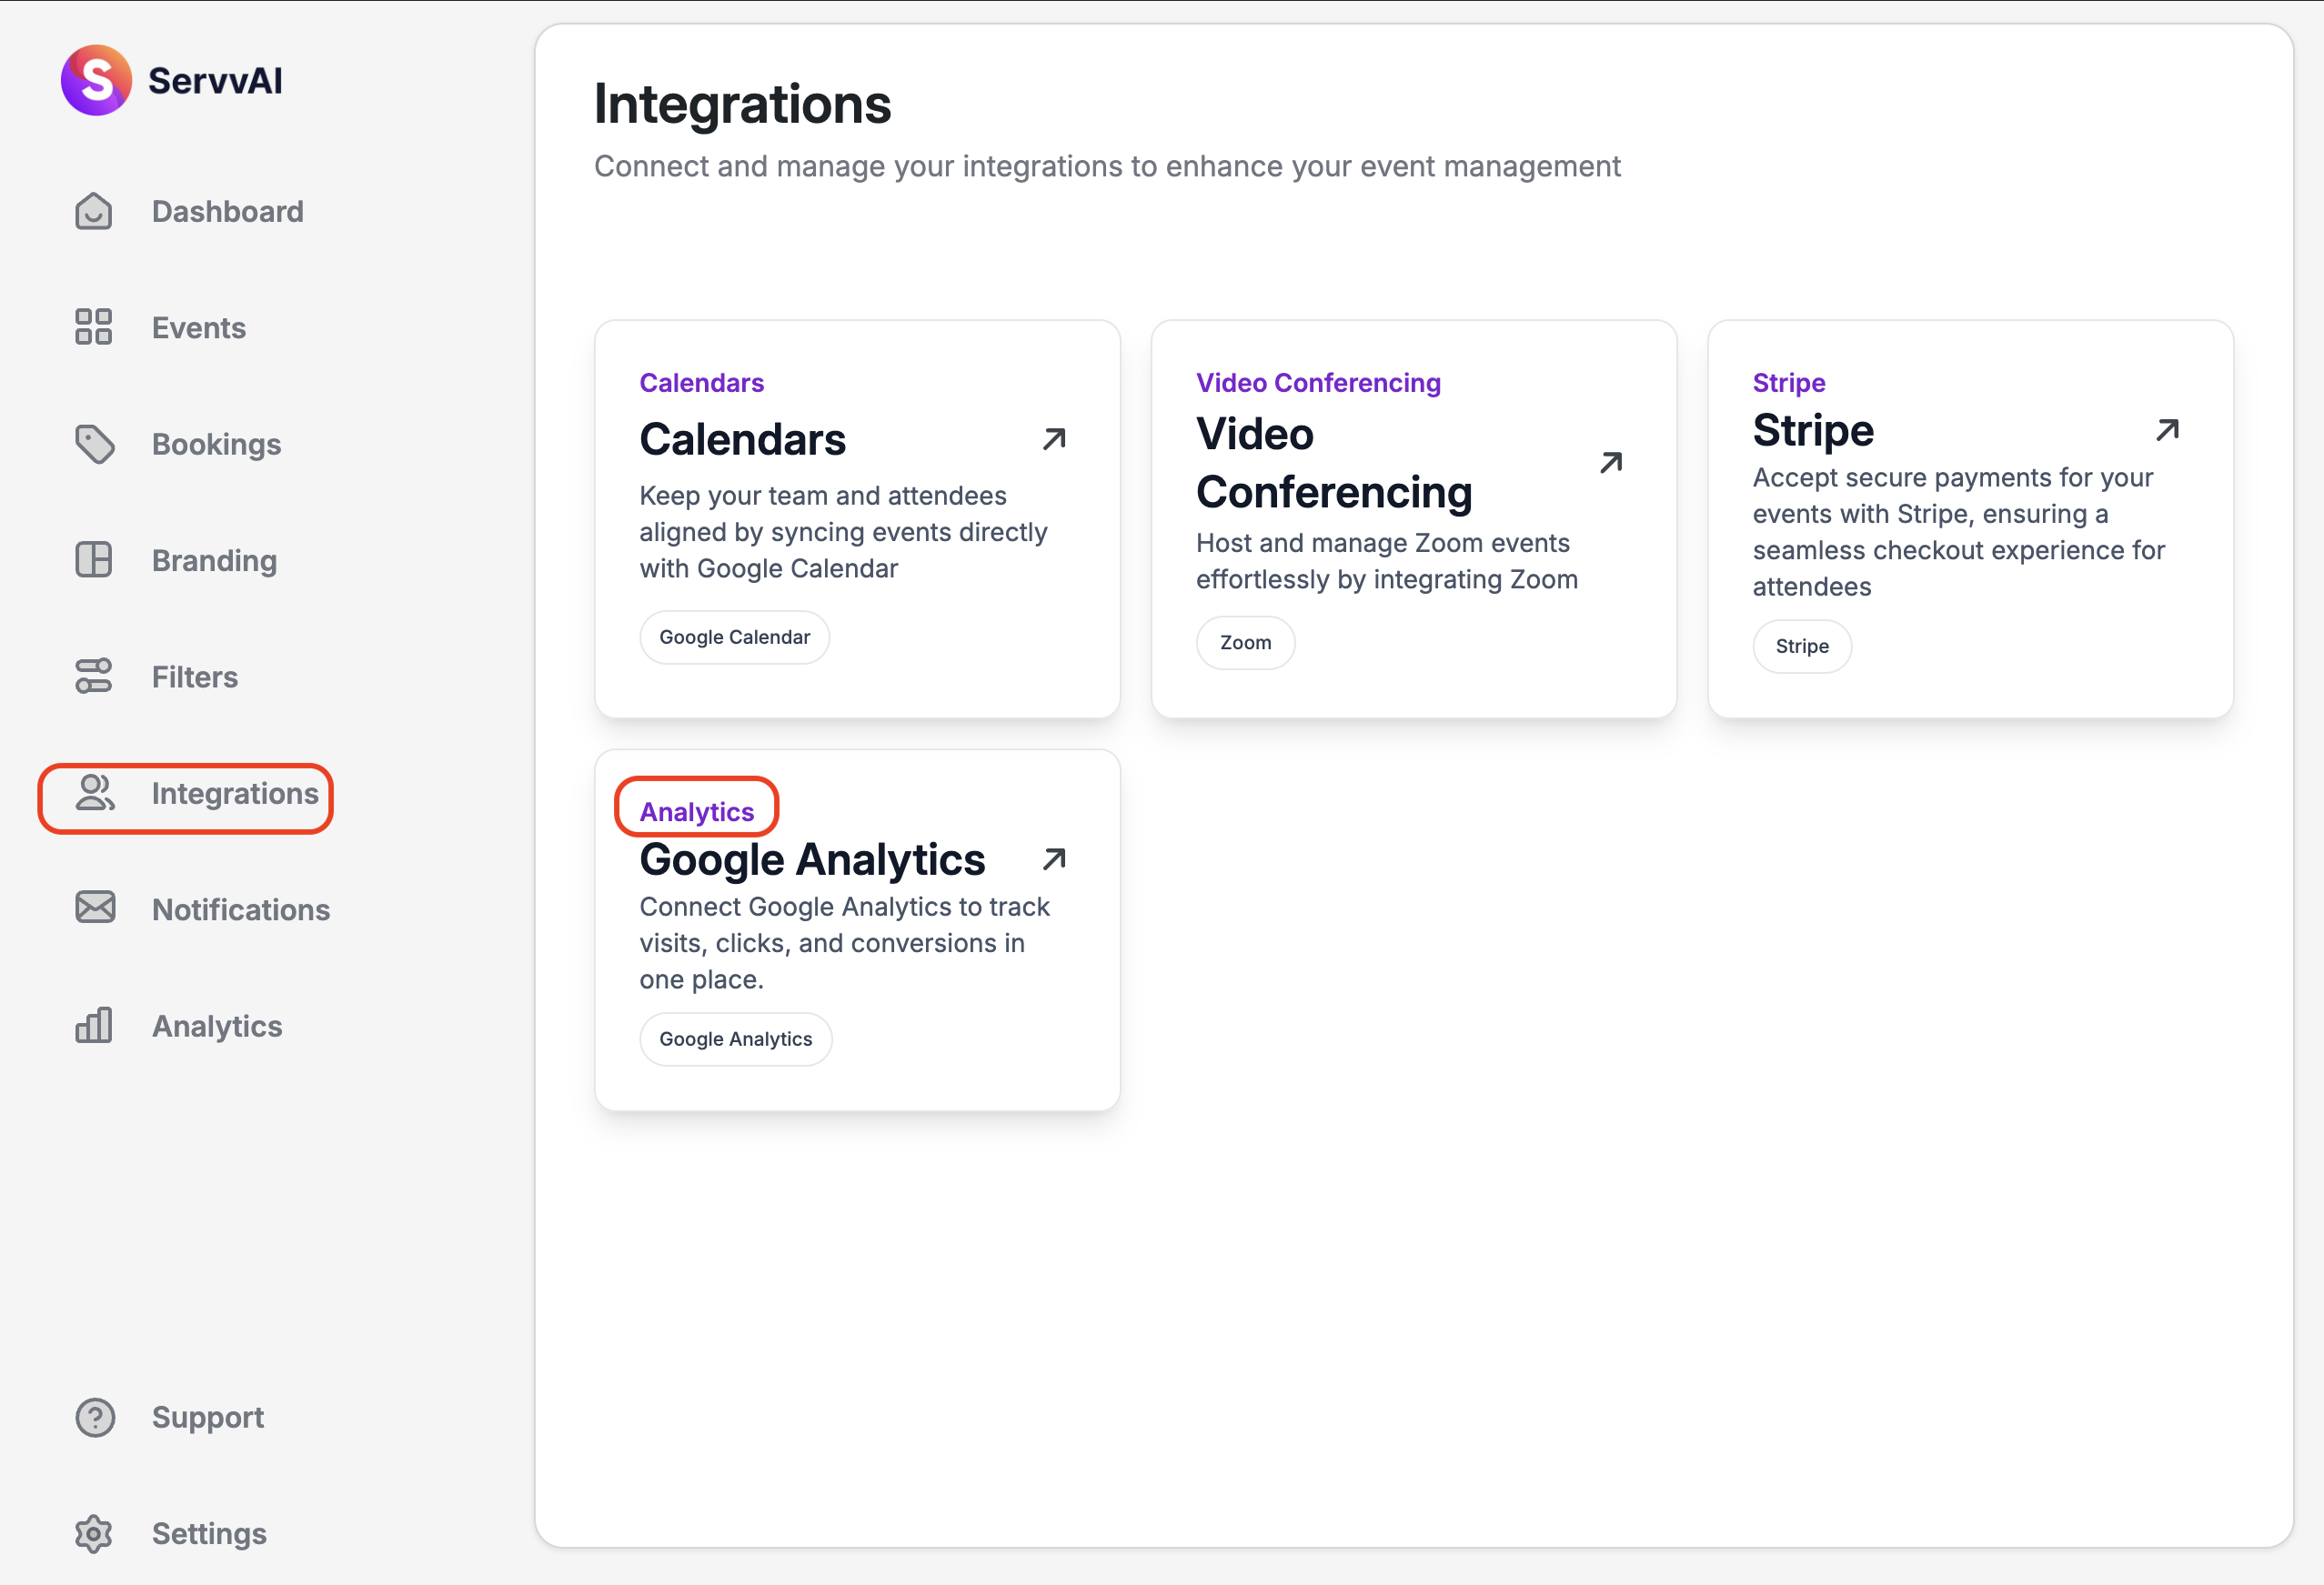
Login to Servv dashboard Navigate to: Integrations → Google Analytics
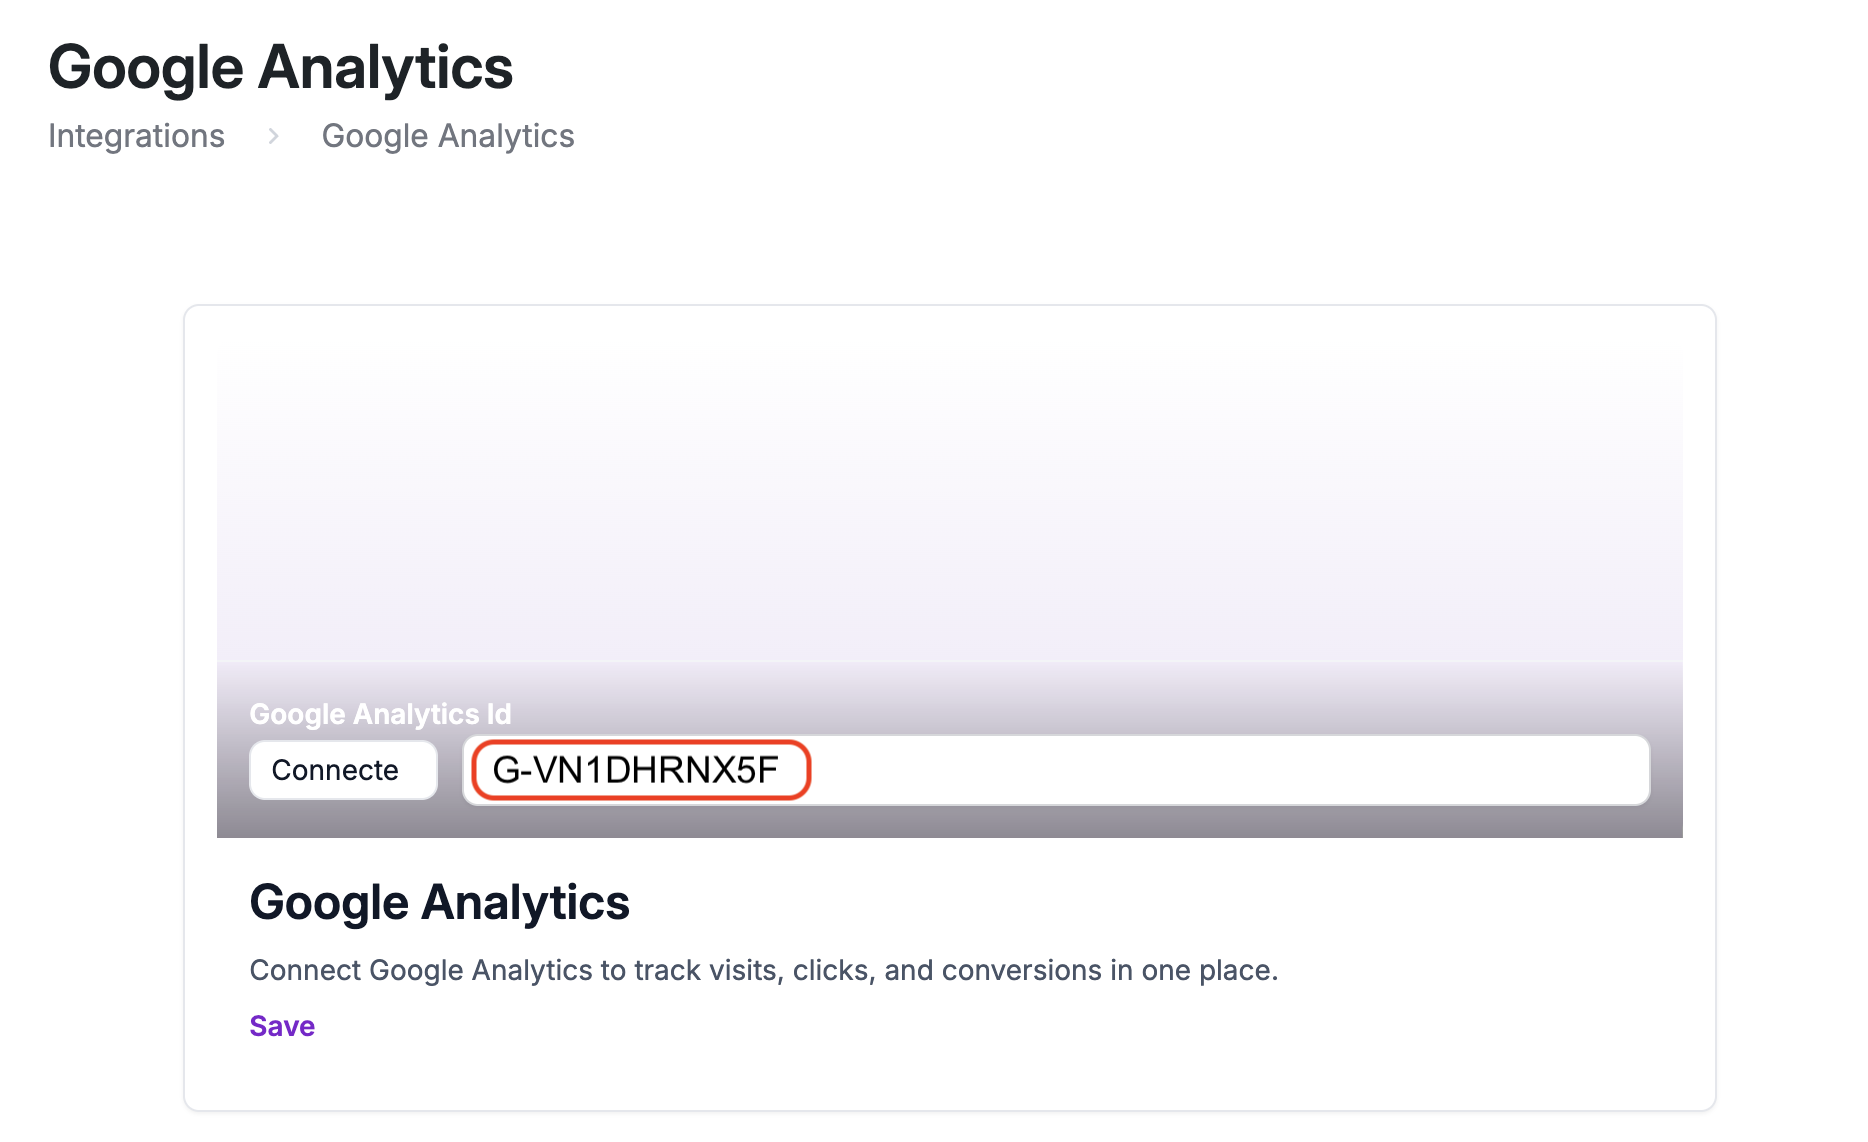
Paste the copied Measurement ID then click on connect Click Save
Step 4: Verify Integration
Real-Time Testing Open your website page where the widget is visible Go to Google Analytics
Navigate to: Reports → Realtime Expected Result: You should see at least 1 active user (yourself)

Your Servv widget is now connected to Google Analytics Tracking will start automatically No manual code installation is required
Viewing Analytics Data
Once data starts flowing, you can monitor: Key Reports Realtime → Live users Engagement → Pages & Screens → Page views User Acquisition → Traffic sourc
Notes
Make sure you select the correct stream Measurement ID must start with G-
Need Help?
- Check our FAQs
- Submit a Support Request Form
- Chat with us directly from your ServvAI dashboard